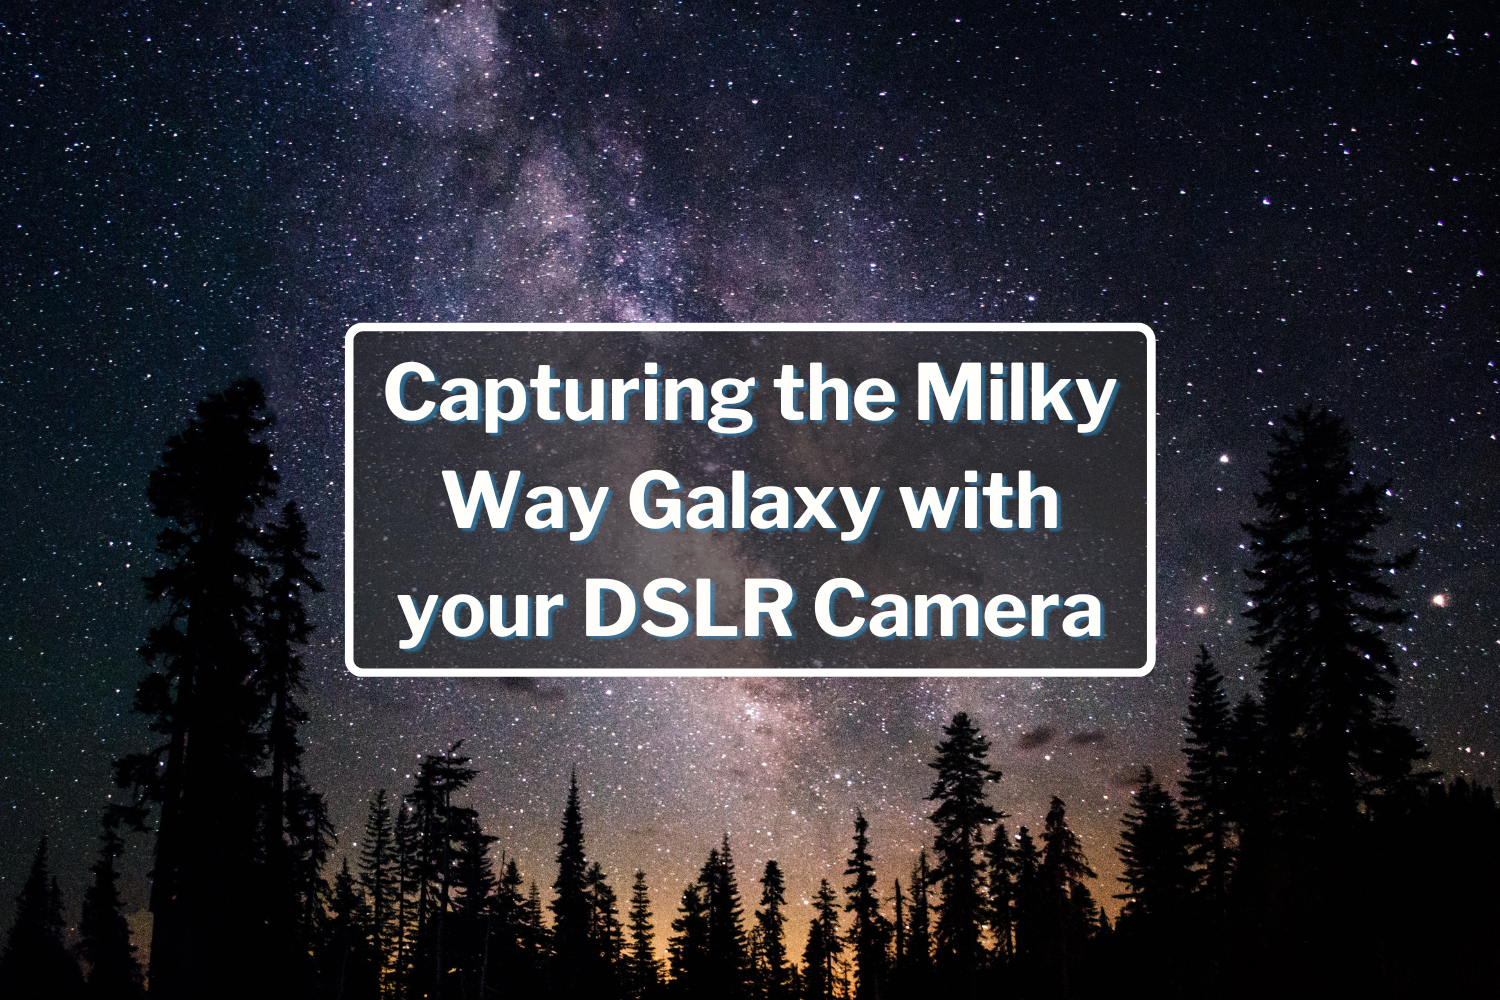


Astrophotography Tips for Beginners with a DSLR
Astrophotography is a growing hobby as the universe gets more and more accessible thanks to smartphone accessories andsmart telescopes like STELLINA or the Celestron SmartSense Explorer. We hope that our intro series on DSLR astrophotography answers many of the questions you may have as you get started. You can always contact us as we strive to find ways to make it easier for you every day.
This astrophotography for beginners blog is meant for those who are comfortable with using a DSLR and understand basic photography settings like f/stops and shutter speeds. We will cover: What you need, how to shoot, why editing matters, and more.
Whether you’ve got the best or the least expensive DSLR, a Canon, Nikon, or anything else, it doesn’t matter. All that really matters is that you have a camera you’re comfortable with, and you are eager to photograph the night sky.
Astrophotography with a DSLR Benefits

Widely Available
DSLR cameras are easily accessible because of how many people use them. DSLRs are also incredibly simple to use — they feature the camera, a screen to view the images, and a power source all in one unit. You can find used gear , budget-friendly cameras, or even borrow one from a family or friend to get started.
Portability
A common DSLR with a lens won’t be more than a few pounds, so it’s easy to bring a DSLR anywhere. This makes DSLRs the perfect choice for astrophotography as they’re portable and quick to set up.

DSLR Astrophotography Gear

"Portable" Astronomy-Dedicated Camera Setup
When taking size into account, we have to consider the entire system required for that camera. Even the biggest DSLR bodies are still usually smaller and lighter than a high-quality, dedicated astronomy camera because of the setup needed to produce an astro image with them. We will go over that later down below.
Adaptability
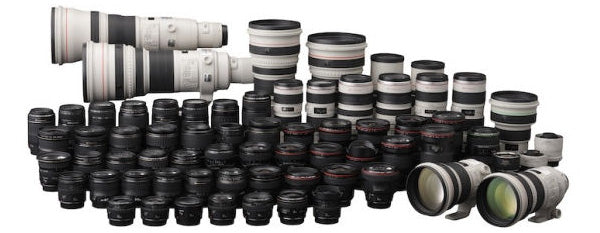
DSLRs and Mirrorless cameras are designed to be used both during the daytime and at night, making them highly versatile if your budget only allows one camera. You can also simply swap out lenses to get multiple focal lengths. Just like a painter has more than one brush, a photographer should have more than one lens.
Somewhere down the road, you might even want to attach your camera to a telescope and do a real deep-dive into the cosmic landscape. The possibilities of targets to capture are endless. A T-ring allows you to adapt a DSLR or Mirrorless camera to most telescope types out there. We’ll cover it extensively later in this blog series, so stay tuned if you’re interested!
Relatively Inexpensive
The keyword here is “relatively.” These are relatively inexpensive compared to astronomy-dedicated cameras and, of course, all of the required equipment needed for those.
DSLRs are right around the same price for a beginner product. Something to note is that while they are termed “beginner,” these may very well last you for years to come with no need for replacement. It’s not hard to find an excellent camera body that will last you for more than five years for under $800 if it’s taken care of.
Looking to spend even less? Just shop our used gear for something in your price range.
Larger Sensor
Astrophotography is another one of those hobbies with its own extremely specialized equipment, and the cameras are no exception.Dedicated astronomy cameras come with a smaller sensor for a higher price. Commonly, you’ll find a dedicated astronomy camera with a smaller sensor and lower resolution than many DSLR cameras, but cost several hundred to thousands of dollars more than the DSLR. This is because dedicated astronomy cameras employ a cooling system to reduce noise over long exposures — something that DSLRs lack.
Field of View
The sensor size will factor into the Field of View (FOV) of your images. Just like when you compare a full-frame sensor to an APS-C or four-thirds sized sensor, the sensor with the larger surface area will always have a wider angle of view.
A larger sensor will give you a larger FOV to capture larger segments of the night sky, meaning you can capture the entirety of the Milky Way. When we compare DSLRs to astrophotography cameras, the majority of “affordable” astronomy cameras are often smaller sensors. Astronomy cameras with full frame or larger sensors will cost thousands to tens of thousands more.
When it comes to pixels, pixel size will factor into the detail of your images. A smaller pixel size will yield a higher resolution, resulting in a sharper image--provided all other factors are equal. This usually results in a higher megapixel count. On the flipside, a larger pixel size will result in better light-gathering ability but at the cost of slightly lower resolution. Both can have their pros & cons in astrophotography.
Long Exposure Imaging
A long exposure image might be one second or two seconds when indoors to the average photographer. For astrophotography, one or two-second exposures will produce almost nothing. Astrophotographers start at five or ten seconds to test out a few settings and go from there. It’s common to have a standard shutter speed somewhere between 30 seconds and 15 minutes with the aid of an intervalometer or shutter release. Exposure length will depend on how dim the object you’re photographing is and on your lens' focal length. But we'll get to that later. Let’s look at some astrophotography accessories to optimize your imaging sessions!
Accessories for Astrophotography
- A sturdy tripod
- Intervalometer
- Photo processing software
- Extra batteries
A Sturdy Tripod
It’s always best to build upon a sturdy foundation in any new venture. In this venture, that foundation is your tripod. This is of utmost importance in your camera setup, and skimping on this can ruin your experience from the start. So do yourself a favor and spring for the best one you can afford. A popular tripod in the astrophotography community is the Radian Carbon-Fiber Tripod for its portability that allows you to take it with you anywhere on your dark sky adventures. It’s made from carbon-fiber which is both lightweight and extremely sturdy. It’s a perfect accessory that can easily hold your equipment if you choose to build your dream astrophotography setup with a star tracker later down the road.
Intervalometer
This is one of the best accessories a beginner in astrophotography with a DSLR can have. Anintervalometer is a device you connect to your camera to control the shutter for whatever duration you need it to last. These can also be programmed to take multiple exposures in sequence, which is perfect for when you’re interested in image stacking .
A handheld remote operated by your thumb and hands-free exposure settings on your camera makes imaging easier. With an intervalometer, you get excellent stability that ensures your DSLR won’t shake and therefore blur your images.
Photo Processing Software
Chances are, your favorite astro photo wasn’t taken in a single shot, nor was it unprocessed. Processing your photos is important because although your image may look amazing as is, fine-tuning some details will make it really stand out.
Most photographers already have a subscription to Photoshop--and rightly so! Photoshop is an excellent tool to get started with and will bring you a long way into the hobby.
Another step you might want to take is image stacking. For those who don’t know, this is how you can maximize the detail in your images by stacking multiple images on one another. It’s more complicated than that, but we’ll be covering that topic in-depth later in this series as well.
Astrophotography Setting Tips
If you have a DSLR, tripod, and clear dark skies, here are some quick settings that you can try tonight!
- Shoot in RAW image format (best format for processing)
- Set your camera to bulb mode or use manual mode
- Use 10-second delay drive mode to help camera process shots
- Exposure set between 30 seconds – 15 minutes (with use of intervalometer)
- ISO set anywhere between 500 – 1600+
- Set your aperture between f/2.8-f/4
- For white balance, set it to daylight or auto
What Kind of Astrophotography Pictures Should I Take First?
Some great starting points with your DSLR are taking pictures of the Moon , star trails , and even some beginner deep space objects ! You can even start taking pictures of nebulae if you want to start capturing more deep space objects, but this is best done with the aid of a star tracker .
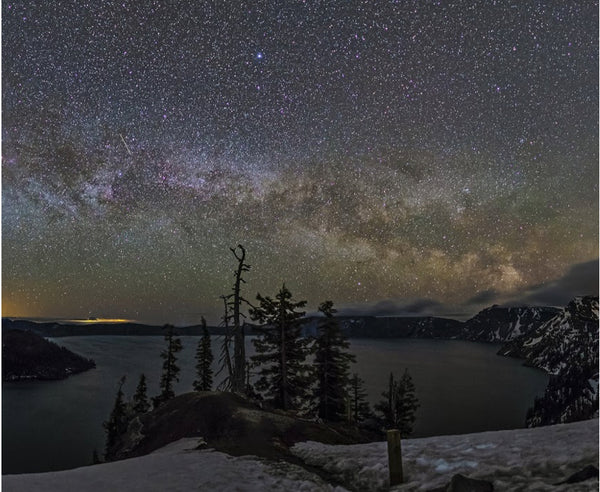
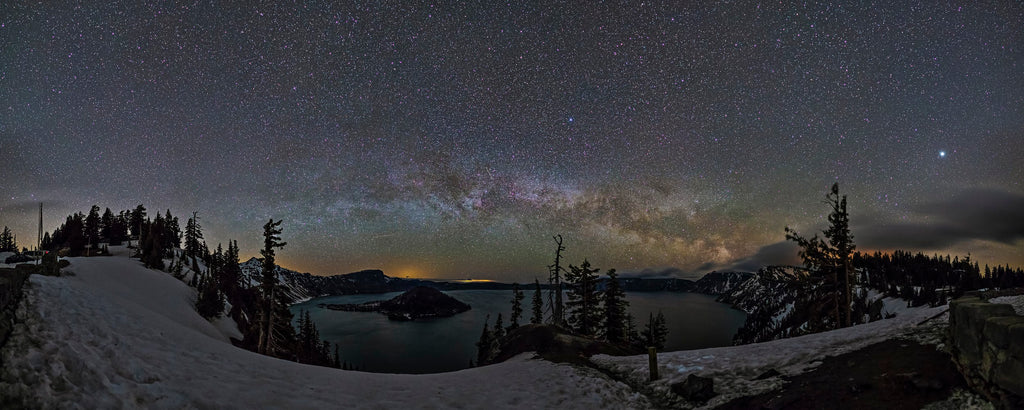
For those of you looking to capture the Milky Way , the months of May through August are the best time to capture the core, whether you live in the Northern or Southern Hemisphere. Just be sure to head to a relatively dark sky on a clear night around new moon to get the best images!
Going into the spring and early summer months, we enter galaxy season with our night skies facing outward from the Milky Way. This is when we’re better off aiming at galaxies. You can easily find any of these with astronomy observing smartphone apps like Celestron’s SkyPortal. Keep in mind a long focal length telescope is going to be necessary for galaxy season.
Where you start makes no difference in the end. As long as you get out under the clear skies and get started, you’re doing it right! Check out our blogs and videos for more tips and guides.
Once you’ve mastered DSLR astrophotography with a tripod, consider upgrading to a star tracker which can take your deep sky images to new heights!
Share Your Shots with Us!
We're always stoked to see images from the community! You can send them to us by email atmarketing@optcorp.com or use the hashtag #opteam on social media for a chance to be featured.
We hope you’ve enjoyed this first entry in our astrophotography course and are excited to get somewhere dark!
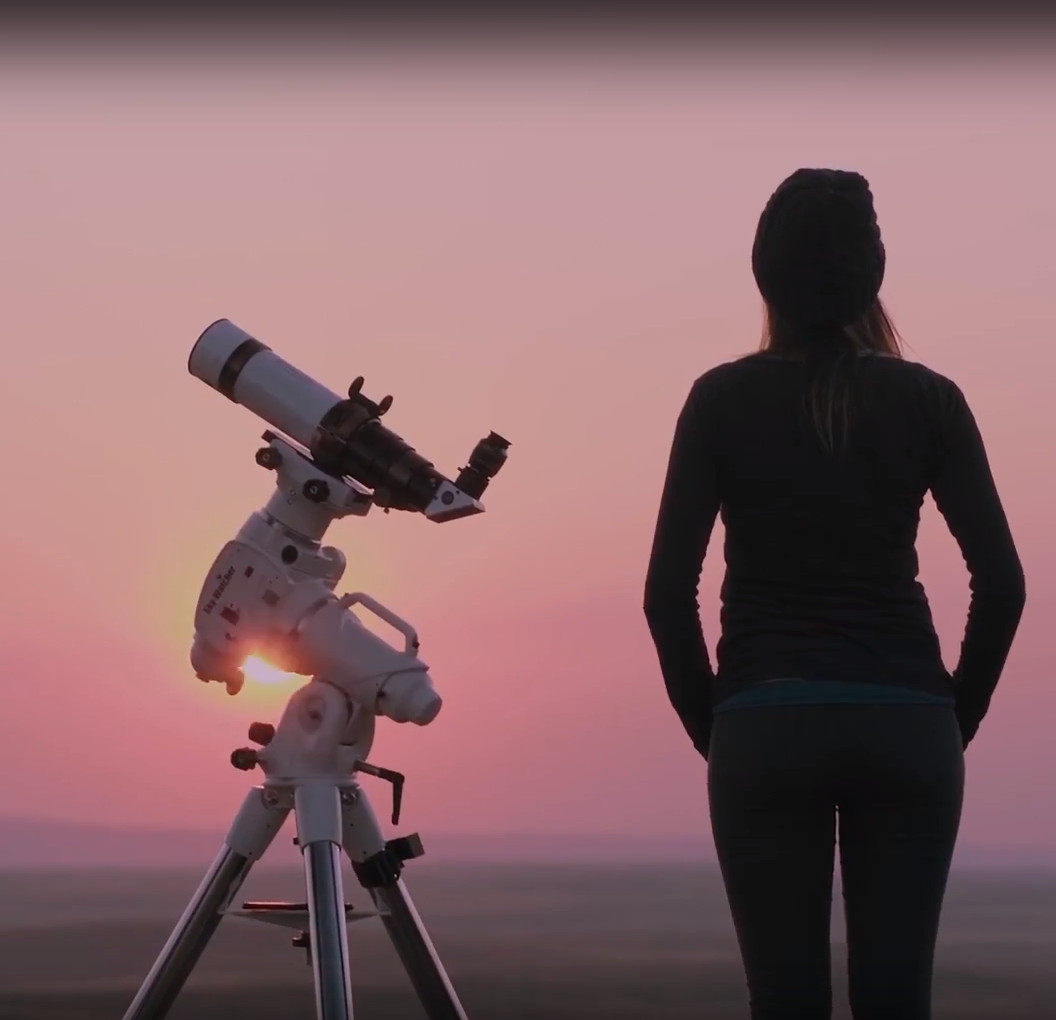
Long exposure imaging requires patience. If you take your time, you'll be imaging like a pro soon enough.

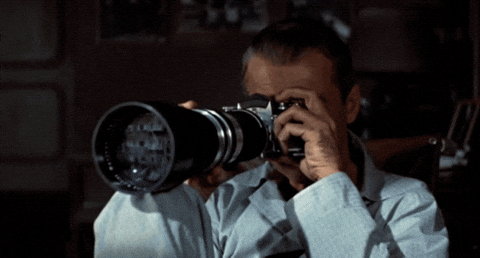
Members of the OPT Team focusing on a celestial object at the Blue Jay Campgrounds in Lake Elsinore, CA.
Next up in this series , we’ll be covering exposures and all the little details that come with getting that perfect image. Hopefully, we’ll see you there! Stay safe, and keep looking up!
What do you plan to image first? Let us know in the comments below!