
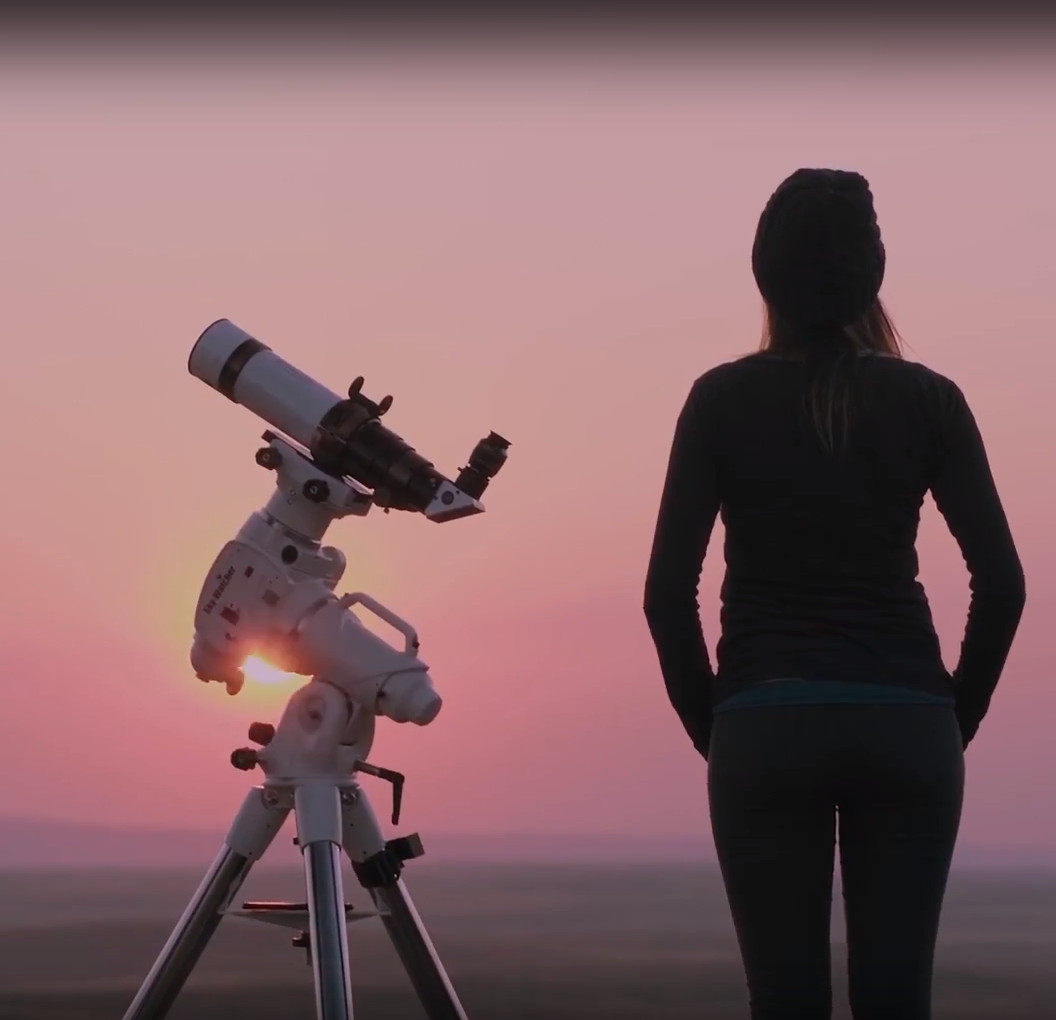


Guide Scope vs. Off-Axis Guider: Which is Better for Astrophotography?
By Bray Falls, OPT Affiliate
In astrophotography, we want the sharpest long exposure images possible. For most users, this will not be possible without some kind of autoguiding. Autoguiding is a method of active telescope control that makes your telescope ‘lock on’ to a particular star in the sky. By doing so, you can correct for any kind of problems that may pop up while trying to perfectly track the sky, like polar alignment, periodic error, or wind gusts. Autoguiding can allow for a system that takes trailed 2-minute long exposure to take exposures exceeding 30-minutes, so long as it is properly tuned and you make the correct decision about how you are going to autoguide.
Before we get into guide scopes vs. off-axis guiders, it's important to discuss some general knowledge about how autoguiding works. In astrophotography (and many other fields of signal processing) there is an important term called the sampling rate. A sampling rate is simply how many times you measure a signal over some dimension. For example, let's say you’re a gold miner who has a plot of land with an area of one square mile. You want to survey the plot to see how much gold you have. Let's say you take a dirt sample at each corner of your plot. Obviously this won’t do very good at measuring the gold in the plot. Let's say you decide to take more samples to get a better idea, and you sample a piece of dirt every 100ft in a grid across your plot, now you’re doing better. We could also check for gold every 10ft, for every inch, or for every nanometer. The point is that we can change how good the measurement is by changing how frequently we sample for gold. The distance between our gold samples is the sampling rate. If we think about the light from our scope landing on our sensor as a plot of land, we can also sample it at a particular rate across the dimension of space. Typically this unit is noted as arcseconds per pixel, like how in our gold miner analogy our sample rate was defined as feet between samples.
Think of it like this: each pixel in our camera fits a little piece of the sky inside of it. The smaller the pixels, and the more zoomed in our telescope, the smaller that piece of sky gets on each pixel. Let’s say that we are trying to measure the movement of a star using a camera and a telescope, and that our camera only has one huge pixel. With one pixel, our whole telescope field of view is measured by just that one pixel, so we would say that the sampling rate is very low. With just one pixel we will never be able to detect the small motions that stars make while imaging.

So if the sampling rate of one huge pixel isn’t good enough, we need to find out what size of pixel, and what focal length telescope we will need to account for the small motion of the stars. But as you could’ve guessed, the answer to that question depends on another question, how much can the stars move before we care? Our autoguiding setup is not the only setup that has a sampling rate, our imaging scopes also have a sampling rate. For example, let's say you’re using a Canon 6D with a 14mm lens and a sky tracker. With this imaging system, your sampling rate is equal to 80 arcseconds per pixel, this means every pixel in this system fits a square of the sky that is 80 arcseconds wide. Let’s also say for example that the periodic error on the tracker creates movements that move the stars up and down 30 arcseconds.
Will our stars ever trail from this periodic error? No. These movements from the periodic error fall below our imaging sampling rate, so our camera physically cannot capture them. Would it be useful to autoguide with this setup? Not at all. Let's say we switch out the 14mm lens for a 400mm lens with a sampling rate of 2.78 arcseconds per pixel. Now we will see all of the periodic error of the sky tracker.
Obviously our goal is to have a sharp image with zero star trailing, so what we would hope to accomplish with autoguiding is to keep the movements of our stars within a single pixel. So we need a method of autoguiding that can reliably detect star movements smaller than what our imaging system can see.
Guide Scopes and Off-Axis Guiders:
There are two main guiding methods most people will choose from, and those are the guide scope, and the off-axis guider. Both have their own unique advantages and disadvantages, but first let’s explain what they are to begin with.
The guide scope is just what it sounds like, it is a separate telescope with its own camera dedicated to the role of guiding. This second telescope will typically sit on top of your scope, or on a bracket mounted to your scope.
The off-axis guider is a device which sits in your imaging train, between your focuser and your camera (and before your filter wheel if you have one). This device houses a small prism that will sit at the edge of your image circle. This prism will ‘pick off’ a small amount of your imaging circle and shoot the light outwards to your guide camera. This means that your main imaging scope effectively becomes the guide scope, since you are imaging with the same light you are guiding with.
Guide Scope Considerations:
There are two important things to think about when choosing a guidescope, how big it will be, and how you are going to mount it to your system. The way you should be thinking about this problem is while a bigger guidescope may give you a better sampling rate to detect star movement, it will also flex on your system.When I say ‘flex’, I’m referring to the term differential flexure. This may sound pretty complicated but I promise it is pretty intuitive once you understand it.

Gravity is a force which always pulls mass downwards to the ground, and your guidescope is an object with mass that points at different directions throughout the sky. This means that gravity will be tugging on your guidescope in different directions relative to the imaging telescope as you take pictures. The important thing is that this tugging creates flexure, which means your guidescope will sag by small amounts. Even more important is that your imaging scope will not be experiencing the small, changing amount of sag.
Imagine a system with a heavy 80mm guidescope on top of an imaging telescope, as the guidescope is flexing throughout the sky, your autoguiding system will account for that flexure. So you’re autoguiding will look like it is doing great, and it is doing great, but the problem is that you are effectively dumping the flexure movement on to your imaging scope. This means that you will have trailed stars even though your autoguiding is good.
The way to fix this is to get a more rigid mounting system, or to get a smaller guide scope that flexes less. Obviously this creates a problem, because if we are using a long focal length scope we cannot afford to make the guidescope smaller, because we won’t be able to account for small movements that our imaging scope can see. We will also be putting more strain on our mounts by looking for more rigid mounting options.
While there are all these issues, there are some upsides to guidescopes. Firstly, autoguiding software is capable of achieving subpixel accuracy on your guide camera. This means you can actually get a surprising amount of ability from a smaller guide scope. The general rule of thumb is that the guide scope focal length should be at least a third of the imaging scope focal length, but with subpixel guiding this isn’t necessarily the case and you likely have more leeway.
A guide scope is also easy to set up, and can be easily swapped between different telescopes with ease. Not to mention, it doesn’t place any constraints on your imaging train back focus like an OAG would.
I use a guide scope for several different imaging configurations in my own setups, and I’ve grown to become a big fan of the ZWO mini guide scope. I pair this guidescope with a QHY5lii-m just because it's what I have on hand, but a guide camera with smaller pixels like the ZWO ASI290MM Mini for better sampling would pair nicely with this guide scope. Using a small guidescope like this really minimizes your chances of having a flexure problem. Mounting is also very simple for this guidescope, I have it paired with a Losmandy dovetail adapter and a Radian 14” Dovetail which sits on top of my scope rings.

This setup is flexible, provides plenty of guide stars everywhere in the sky, and has produced great results on my refractor setup. With the addition of multi-star guiding in PHD2, this has become a great way to autoguide.
That being said, I have also experienced large challenges in the past with using a guide scope. I would suggest at all costs trying to avoid mounting a guide scope to any built in mounting point, like a finder shoe, on a telescope. Some of these may be produced well but I have experienced issues in the past with severe differential flexure. It’s better to buy a good set of tube rings and dovetail plates and make sure your setup is rock solid.
Off-Axis Guider Considerations:
Off-axis guiders often appear to be the more complex and difficult solution to autoguiding when compared to guidescopes. However, you may be surprised to find that once an OAG is set up properly, it actually is much easier to use than a guide scope is.
The obvious challenges with an off-axis guider are the fact that you will need to make sure that it fits within your back focus distance of your imaging train, that it reaches the same point of focus as your main imaging camera, and that you have one large enough that it doesn’t obscure your imaging sensor. If you use a large sensor camera, you may run the risk of casting a shadow upon your sensor if your OAG is not set up properly.
In order to give you the best shot possible of having the right adapters and the right OAG for your setup, I would strongly recommend purchasing an off-axis guider of the same brand that your imaging camera is. For example if I had a ZWO camera, I would get a ZWO Off-Axis Guider. The same follows for QHY, SBIG, etc. The reason is that manufacturers will often supply you with the adapters you need to properly space out an off-axis guider in your imaging train, and they will be guaranteed to work with whatever sensor you have since they will be designed by the same company for the camera you’re using. Simply follow the instructions they have listed on their websites for setting up the OAG and it should be simple.

Once you have the OAG properly installed and you’re ready for first light, you simply need to focus your imaging telescope with the method of your choice, and afterwards focus your autoguider by whatever method possible with your OAG. Once this is done it never has to be repeated. This is because the OAG uses the same light as your imaging camera. As long as one is in focus, the other will be too. This is actually what makes an OAG easier to use, since you can set it and forget it. With a guide scope you would need to refocus it every so often since it is an independent system.
The other thing to consider is that for some setups, an OAG may be the only feasible option for you. If you’re trying to image with a focal length greater than about 1500mm, there is only so much a ZWO miniguide scope will be able to do. If you’re imaging with 2000mm plus focal length, an OAG is really the only option for consistent results. It is also the only way you will be able to guide out SCT mirror flop.
If you are a DSLR astrophotographer, an OAG may not be the best option because the shape of your camera body may physically block an OAG. They will be easiest to use on a dedicated astro camera:
You can think of an OAG as more of an accurate, guaranteed good autoguiding measure when compared to a guide scope. This comes at the cost of setup difficulty, but it is worth it when possible. When at all possible I prefer to use an OAG, and in some cases I have to use one. I operate a remote 16” Ritchey Chretien telescope with a focal length close to 4,000mm, the only way to autoguide with this system is by OAG.
To summarize everything we’ve discussed, here’s some pros and cons:
| Pros | Cons | |
| Guide Scope |
|
|
| OAG |
|
|
As a closing word, if you are using a short focal length refractor (250mm-600mm focal length), and you don’t want to deal with the complexity of an OAG, a simple guide scope should be up to the task. If you’re anywhere near the 1000mm focal length range, you will see way more consistent results with an OAG, and if you’re beyond about 1500mm focal length the OAG may be the only practical option.
4 Responses
chris sandberg
Awesome article! One question. If we go with an OAG system, then both cameras are using the same field to perform their respective tasks. But what about the sampling rate? Does the OAG camera need to have a higher sampling rate than the telescope imaging camera in order to guide the telescope?
Dennis Dol
Hello
I’m using a W.O Flt 120 with a .8 reducer which brings my focal length to 624mm. I’m above the 250mm-600mm range but below the 1000mm range. Should i go guide scope or OAG?
Richard Angelo
It sounds like I have the same telescope as yours (16" RC) and I need to switch to OAG. Which OAG works well with these long focal length RC telescopes?


Arne
April 03, 2025
You are mixing up and confusing sampling rate and sensor resolution in a very confusing way. What you call sampling rate should be called resolution. In addition, the sampling rate, which is a different thing than resolution, also matters. I can have a very high resolution sensor but if your sampling rate is too low you are not going to get good guiding. You can have a very high sampling rate but if your resolution is too low you also get poor guiding.