


How to Master Polar Alignment on Your Mount
By Bray Falls, OPT Affiliate
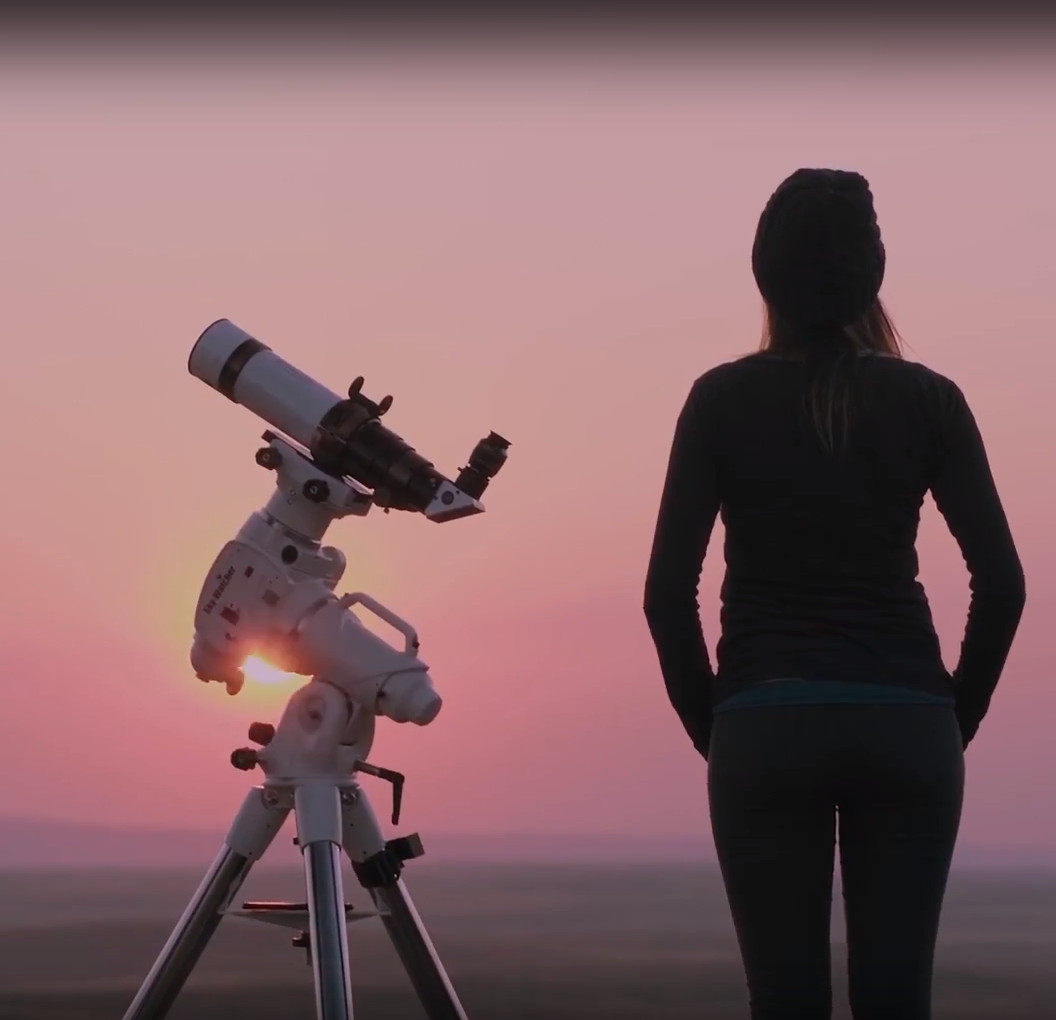
So you’ve finally decided you’re tired of stacking hundreds of untracked single-second exposures, you’ve ordered yourself an equatorial mount or tracker, and you’re ready to start taking long sharp exposures. But first, you must learn how to do polar alignment, something which is a bit daunting to new users. It is the most critical part of you setting up your scope, and the quality of this alignment is going to determine how good your images are. It may seem like it is difficult to get it right, but we promise that it is easier than it seems.
What is Polar Alignment?

Looking at the globe above, notice that it has two poles, North and South, along with an equator equally distant from each pole. Draw an imaginary line between the North and South pole, through the globe. Give the globe a spin, and you’ll notice everything rotates about this imaginary line. This line is called the “axis of rotation,” and all rotating objects have one.
Now, extend this imaginary line out into the stars from either side. These lines point to an important place in the sky, the celestial poles. We mark these places with “pole stars,” which are the brightest stars near the North and South celestial poles, Polaris and Sigma Octantis, respectively. We call the other stars near the poles “circumpolar stars.” All stars in the night sky appear to rotate about the celestial poles.

Notice how when you spun the globe, it took one singular motion to spin it. If you tried to stop its motion, it would also only take one singular motion in the direction against its spinning. If we can stop the spinning of a globe with one clean motion, we can also stop the spinning of the night sky with one clean motion.
To stop the motion of the night sky, we would need a mount that spins at the same rate as the Earth in the opposite direction. The rotation axis of this mount would also need to match that of the Earth. This is the principle of an equatorial mount, and lining up the rotational axes of the mount and the Earth is the principle of polar alignment.
The name of the game is to make our mount’s axis as parallel as possible to the Earth’s. If there is any error in this alignment, our “one clean motion” to freeze the sky will not completely freeze the sky but allow it to drift, causing the stars to streak. The worse our alignment, the worse the drift, and the worse our images.
One important fact to note is that this problem of alignment becomes more important the more zoomed in we are on the night sky. For example, if you were to use a 14mm wide lens on a star tracker, you could polar align by pointing the tripod north and adjusting the latitude and it would be good enough. However, if we were using a massive 4,000mm focal length telescope, alignment needs to be much more accurate.
Types of Polar Alignment
There are several types of polar alignment that one could use depending on what gear you have, or whether or not you have a clear view of a celestial pole. The types we will be discussing are:
- Polar scope alignment
- Drift alignment
- Polar alignment cameras
- Pointing model alignment
Polar Scope Alignment

This alignment method is pretty universal since almost all equatorial tracking mounts have it in some form, from sky trackers like theSky-Watcher Star Adventurer all the way to some higher-end mounts like theAstro-Physics AP1600GTO. The polar scope is a small telescope located inside your mount’s right ascension axis (the axis which counteracts the rotation of the earth). Polar scopes feature a small reticle on the inside, which allows you to place your pole star (Polaris or Sigma Octantis) in the correct position for alignment.

Depending on the time of night, you will be placing Polaris somewhere on the circle using adjustment knobs to do your polar alignment. We prefer to use the app PSalign to give me the proper position to place Polaris. After putting the star in the correct spot, you are good to go for imaging. However, there are a couple of things to keep in mind for using a polar scope more effectively. Below is a video showing this process:
In order for your polar scope to be as accurate as possible, its optical axis needs to be precisely aligned with the mount’s right ascension axis. This means that as you spin the mount’s right ascension axis, the center of the view from the polar scope should remain fixed on one spot. Polar scopes are collimated from the factory, but during shipping or transportation, things could get knocked off, so it doesn’t hurt to check. You can think of polar scope collimation, almost like polar aligning the polar scope to the mount.
The way you adjust this is during the daytime, point your polar scope at a far away identifiable object like a light pole. Looking through your polar scope, rotate your mount’s right ascension axis. If your polar scope is collimated, the center of the polar scope will remain on the same spot you left it before rotating. If not, the center in the crosshair will move. The collimation process isn’t too hard. It involves tightening and loosening three small set screws on the scope. Check out this page for more tips on the collimation process.
Polar scopes are a convenient way to do a polar alignment. However, it is not extremely accurate (unless you’re using an AP mount with a RAPAS). It usually needs to be fine-tuned by other methods, like drift alignment or using a polar alignment camera.
Polar Alignment Cameras

In our opinion, polar alignment cameras are probably the best thing to be invented since sliced bread. Polar aligning this way is incredibly fast and very accurate, usually taking under 5 minutes to complete. It is also very simple to do. For polar alignment cameras, you can probably infer that we are talking about theQHY Polemaster, but a similar result can be accomplished withSharcap’s polar alignment feature or PHD2’s static polar alignment feature.
Before we dive in to how the Polemaster works, you can watch OPT’s video on using the Polemaster below:
The QHY PoleMaster is a kind of “electronic polar scope,” which means that it needs a view of the celestial pole to work. For this reason, it helps to roughly align the mount with the celestial pole before you follow the Polemaster setup procedure. The QHY PoleMaster works by determining two things:
- The location of the circumpolar stars in the field of view
- The center of rotation of your mount in the field of view
The location of the circumpolar stars is determined by clicking Polaris and moving a slider until the stars near Polaris match up with an overlay. The center of rotation of the mount is determined by clicking a star, rotating the mount in the right ascension, and clicking on that star again. Repeat this process twice and the PoleMaster software can find the center of rotation of your mount.

From this information, the Polemaster software knows the location of the celestial pole in the field of view. All you have to do is move the center of rotation of your mount on top of the celestial pole, and then you have very accurate polar alignment. If you leave your Polemaster permanently attached to your setup, you only need to solve for your rotation center once since it can be saved in your Polemaster software. This makes the process even faster since finding the rotation center is the longest part of the Polemaster process. It is not rare to be polar aligned in under two minutes when this information is saved.
The Sharpcap polar alignment feature and PHD2 static polar alignment feature function on the same principle as the Polemaster, but they use your guide camera instead of a separate camera. There are some constraints, however. Your guide camera field of view needs to be between 1 and 2.5 degrees, and you need to be within 5 degrees of the pole to start the process. If you use a guide scope and not an OAG, this is a process worth considering since it will save you some money. Since we usually use an OAG, we use a Polemaster. We also are more fond of the Polemaster user interface than the other methods mentioned.
If you get a QHY Polemaster, you need to consider how you are going to mount it to your system. There is a very common misconception that the Polemaster must be located where your polar scope is, at the center of the right ascension axis, in order to properly work. This is false. The center of rotation of your mount can be measured from any point as long as it moves with the mount’s right ascension axis. This means that instead of worrying about getting different Polemaster adapters, you could get anADM universal Polemaster adapter to mount your Polemaster to whatever telescope you are using. This means you can easily swap your Polemaster between mounts and even use it as a little electronic viewfinder when you’re imaging.

Drift Alignment
Drift alignment is a very tedious and slow way of polar aligning your scope. Drift alignment is a polar alignment method that relies on your autoguider to measure polar alignment error. This means it is also usually performed inside of PHD2’s drift alignment tool.
The mechanism that drift alignment works on is the fact that a star’s drift rate is directly related to your polar alignment error. For example, when tracking a star with a perfectly aligned mount, there will be zero drift. When tracking a star with the worst possible polar alignment (pointed into the ground at the other celestial pole), you will have a drift rate twice the sidereal rate. Using this fact, PHD2 can measure the drift rate of a star and directly relate it to a polar alignment error. This amount of adjustment needed to fix the error is displayed as a magenta circle, and you simply need to move the star to the magenta circle. You will do this process with two stars, one for altitude adjustment and one for azimuth adjustment in different parts of the sky. Check out this detailed reference for doing the drift alignment in PHD2.

Drift alignment is a very accurate way to do alignment, and if done right, it will guarantee that you will have good tracking and good images. The reason it is so accurate is that it is directly measuring the thing we care about most, how fast the stars are drifting in our image. One strong advantage of this method is that it doesn’t require a clear view of Polaris to do properly. However, it does require a clear view of a low declination area around the meridian and a clear East or West horizon. The problem is that this process has to be done multiple times to get a good alignment, and the closer you get to perfect alignment, the longer it takes to measure the star’s drift rate since it will be moving more slowly. You could easily expect this process to take 15 or 20 minutes to get right. For this reason, it has largely fallen out of favor for newer, faster methods of alignment.
Polar Alignment Misconceptions
A polar alignment misconception that we see very frequently is tripod leveling. Tripod leveling hasno impact on your polar alignment or tracking accuracy (as long as your tripod isn’t so far out of level that your scope falls over). The beauty of equatorial mounts is that they function on the equatorial reference frame, which means the only alignment which is relevant to their performance is their polar alignment. You could mount an EQ6 sideways on a wall, and as long as it is polar aligned, it will work well. The only times we ever consider leveling a tripod are when a scope may be at risk of tipping over, which is almost never since you should be imaging on flat ground in most cases. So go ahead and save yourself a couple of minutes every time you set up somewhere flat and skip leveling.
Pointing Model Alignment

For those using higher-end mounts with better pointing accuracy, along with more advanced software, you can polar align using a pointing model. A pointing model is a map that describes the pointing error of a telescope at different parts of the sky. Pointing error is any time the mount slews somewhere, and it is a little bit off of where it was actually supposed to slew. The pointing model is built by plate solving your camera at different parts of the sky and measuring where your telescope was actually pointed versus where it thinks it was pointed for all of these areas. From this information, you can do a lot of physical modeling about your telescope system, including measuring the polar alignment error. If your polar alignment is off by some amount, that will be reflected in the pointing model at every single collection point. The more modeling points, the more accurate measurement of polar alignment error you will get.
This pointing model capability is well integrated into TheSkyX, which can be used with many different kinds of mounts, but it is primarily used with Paramount. It is also primarily used with permanent telescope setups.
This method does have some advantages. It is quite accurate and doesn’t require a direct view of the celestial pole. However, if you wish to get a good measure of polar alignment error, you may need to collect a fair number of points which will take some time to complete. For a permanent remote observatory, this really isn’t a problem and makes the most sense for alignment. Most remote observatories use Paramount’s that run TheSkyX, so it is a reliable method that doesn’t require anything extra.
Pros/Cons of Polar Alignment

2 Responses
MARTIN L JACOBVITZ
I have a question – asked 2 ways….
Once my telescope mount is polar aligned as long as it remains stationary can I switch telescopes, rebalance but not have to re polar align?
Do I have to polar align with each equpment switch on a stationary mount?
Thanks
Martin


Mark Fletcher
June 23, 2022
In reply to Martin’s question about polar alignment and switching telescopes on a stationary mount, the short answer is you do not need to redo polar alignment. It is the mount that is aligned, not the telescope.
If the axis of the scope on its mounting plate is not exactly parallel to the axis of the saddle, causing the front of the telescope to be tipped up or down, this will introduce a cone error due to imperfect orthogonality. This will be different for each scope and mounting plate and will interfere with pointing accuracy but is not a lack of polar alignment. Orthogonality can be “zeroed out” on each combination of scope and mounting plate by shimming the front or back of the telescope. With no orthogonality error, the only difference when changing scopes will be a potential difference in the RA axis which is not a problem.