


How to Use the Star Adventurer Pro [2021]
One of the best tools you can add to your photography kit for taking pictures of the stars is a star tracker, also referred to as atrackingmount in astrophotography. While there are many star trackers to choose from, the Sky-Watcher Star Adventurer Pro continues to be the popular choice because of the images many have produced with it and its ease of use!
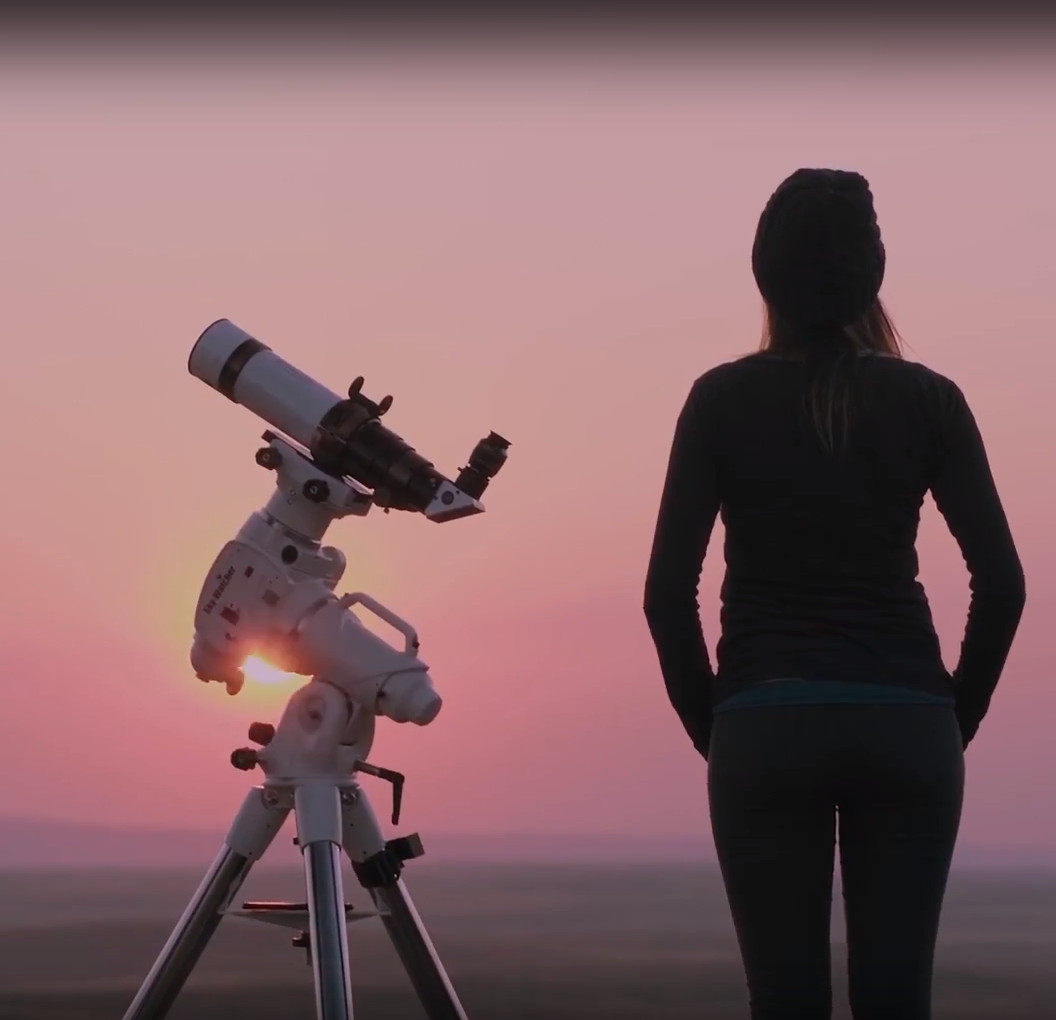
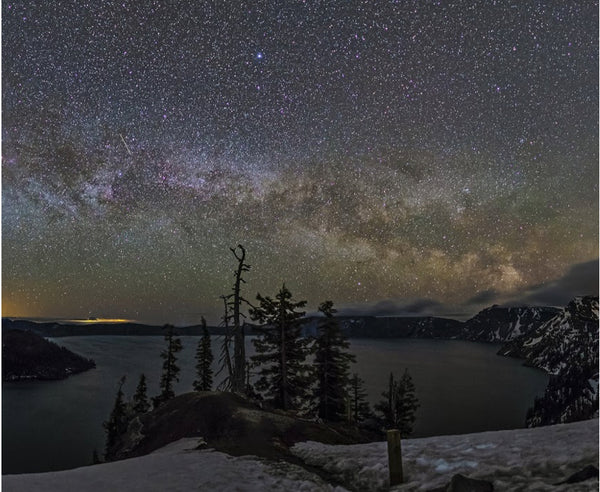
![]() Milky Way landscape captured by Dustin Gibson (gibsonpics on Instagram) with the Star Adventurer.
Milky Way landscape captured by Dustin Gibson (gibsonpics on Instagram) with the Star Adventurer.
This mount is widely used by everyone, from beginners looking to take their Milky Way photos to the next level to professionals with years of deep sky experience because it is so easy to setup and use. The best part of it all is that it delivers incredible results whenpaired with the right camera and the right lens. Read on to learn more!
What You Need to Do Before Tracking Stars with the Star Adventurer
It can be exciting to see your setup ready to go, but before hitting start, and to avoid any star trails or imbalances in your equipment, follow the steps below.
- Makesureyourtripod andstartracker arebothlevel
- Balance your payload with the included counterweight, if possible
- Polaralignyour Star Adventurer
- Start capturing the night sky!
How to Make Sure Your Star Tracker and Tripod are Level
The Star Adventurer has a built-in bubble level to help you keep a balanced set up. You use a bubble level by adjusting your tripod’s legs until the bubble is in the center circle.

If your Star Adventurer came with a counterweight system, be sure to put that on first. Then, add your camera and lens or telescope.Align both ends parallel to the ground and slide the counterweight up and down the shaft until the payload is balanced.You may need to readjust a few times. Don’t give up! With practice, this will become easier to figure out.
How to Polar Align Your Star Adventurer Mount
One of the most important steps in astrophotography is your polar alignment. Earth isinconstant motion in space, and at the same time, the celestial objects around it are in motion too. Making sure yourStarAdventurer ispolar aligned will help you produce clear and detailed images.If your tracker is not properly aligned, it can't accurately moveopposite toEarth's rotation, and it will likely leave you with images that have star trails.
To get polar aligned, the first thing you need to do is figure out your latitude. Most apps that tell you your location will work. In the video above, we use the Sky-Watcher App, and you can follow along for more. You can also check out ouradvanced guide on polar alignment to learn more!
Finding Polaris for the Northern Hemisphere
There are so many ways that you can find Polaris in the night sky. One of the fastest ways is to use an astrophotography app like Sky Safari, Stellarium, or Skywalk, to name a few. Point your phone at the sky, and it's going to tell you where Polaris is so that way you can start aligning.
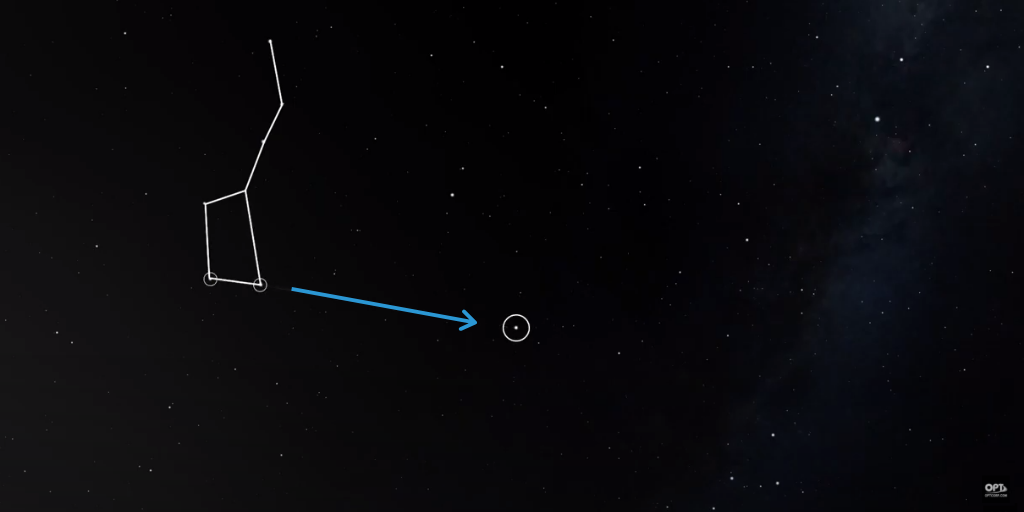
You can also find Polaris by looking up in the night sky and finding the big dipper first. Once you find it, you can use the two stars at the far end of the cup that point towards Polaris. Then after you find Polaris, look through the polar scope and get a rough alignment by using the alt-az andlatitude screws to move your Star Adventurer so that Polaris can be seenthrough thecenterofthe polar scope.
Steps for Getting Started with the Star Adventurer Pro
Here is a step-by-step breakdown to follow along in the video above.
- Take your bracket and slide it into the dovetail mount.
- Turn the knob to secure it in place.
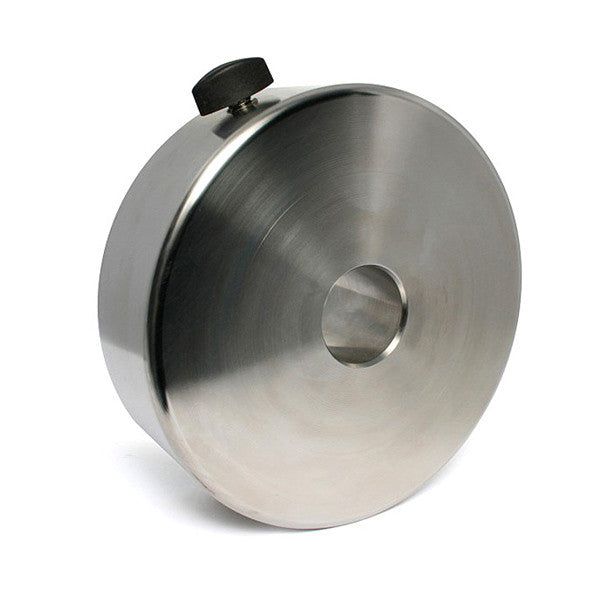
- Attach your counterweight - always attach your counterweights first before attaching your scope or your camera.
- Attach your camera to the declination plate at the top - we recommend having a ball head attachment to get your camera pointed exactly where you want in the sky
- Balance your rig by loosening the clutch on the mounting platform. Then loosen the knob on your counterweight and adjust it until the rig doesn’t move.
- When you let go, if the rig is still unbalanced, after the counterweight has been moved all the way to the end of the metal rod, then the entire dovetail needs to be adjusted.
- To readjust, lock your clutch, loosen the knob on the dovetail, and slide it down to add more weight away from your camera. Tighten the screw, loosen the clutch again, and try to balance it one more time.
- After your rig is balanced and your Star Adventurer is aligned, there is one last thing to do: aiming your camera to the target.
- Once you've aimed at your target, turn the dial to stellar tracking, which is the star symbol.
- The tracker will start following the stars keeping your target in frame without drifting.
TIP:Don’t worry about notseeing the star tracker moving once you press start.It keeps track of the rotation of the Earth, so it doesn't appear to be moving because we are moving too!
Some cameras have built-in time-lapse features, but if yours doesn't, you will need an intervalometer. An intervalometeris a time-savingMilky Way photography accessory thathelps you take multiple images without having to press the buttons on your camera that can be damaging to your long exposure images.

Three Ways an Intervalometer Optimizes YourStar Tracker
- It lets you tell your camera how many exposures you want to take
- You can set howlong you want your exposures to be
- It lets you set howlong your camera should wait in between each photo.
TIP: It's a good idea to wait between two and five seconds between each photo to makesure that your camera is finished writing the previous photo before snapping the next one.
How to Keep Your Star Adventurer Charged for Long Exposures
The Star Adventurer Pro runs on four AA batteries. ALWAYS keep some extra with you, so you never have to worry about your rechargeable batteries running out ofpower. A new pack of batteries can last youforas long as 72 hours. OR you can run the tracker from an external power source like theCelestron Power Tank with theUSB connection on the side and not worry about bringing extra batteries.
The Different Settings of the Star Adventurer
You can unlock so many types of tracked photography with the Star Adventurer’s many setting options. For Milky Way images, move the dial to stellar tracking. If you want totake images of the Moon, keep the same alignment for Milky Way photography but change the dial to lunar tracking. The speed of the tracker will change slightly to match the speed of the Moon.
You can also change the speed and capture more than the night sky! You can also use the Star Adventurer forpanningtime-lapses like a sunset.
QuickReviewon Getting Started

Check out our library offree resources and learn with OPT!Let us know in the comments what kind of blogs you want to see more of,andas always, clear skies!