10 Levels of Deep Sky Astrophotography Setups (with Example Images)
Every beginner astrophotographer has to start somewhere, and the best place to begin is with the gear you already own. You might be surprised to learn that you can take amazing beginner astrophotographs with that old DSLR camera you have at home. And if you don't have one of those, you can even use your smartphone if it's relatively new.
In this blog, we'll dive into 10 different levels of deep sky astrophotography setups along with example images you can achieve with each. There's no "right" or "wrong" approach to each level, and some of the equipment may vary depending on your technical knowledge and what you may or may not already own. Some astrophotographers may want to dive right in to Level 7, while others may want to keep it simple and start at Level 1 or 2. We'll start with gear you might already own and go all the way up to professional-level observatory setups, and cover everything you might need in between. No matter which level you're at, OPT has the astronomy gear you need! Our friendly and expert Sales team is always standing by to assist you with any questions you may have.
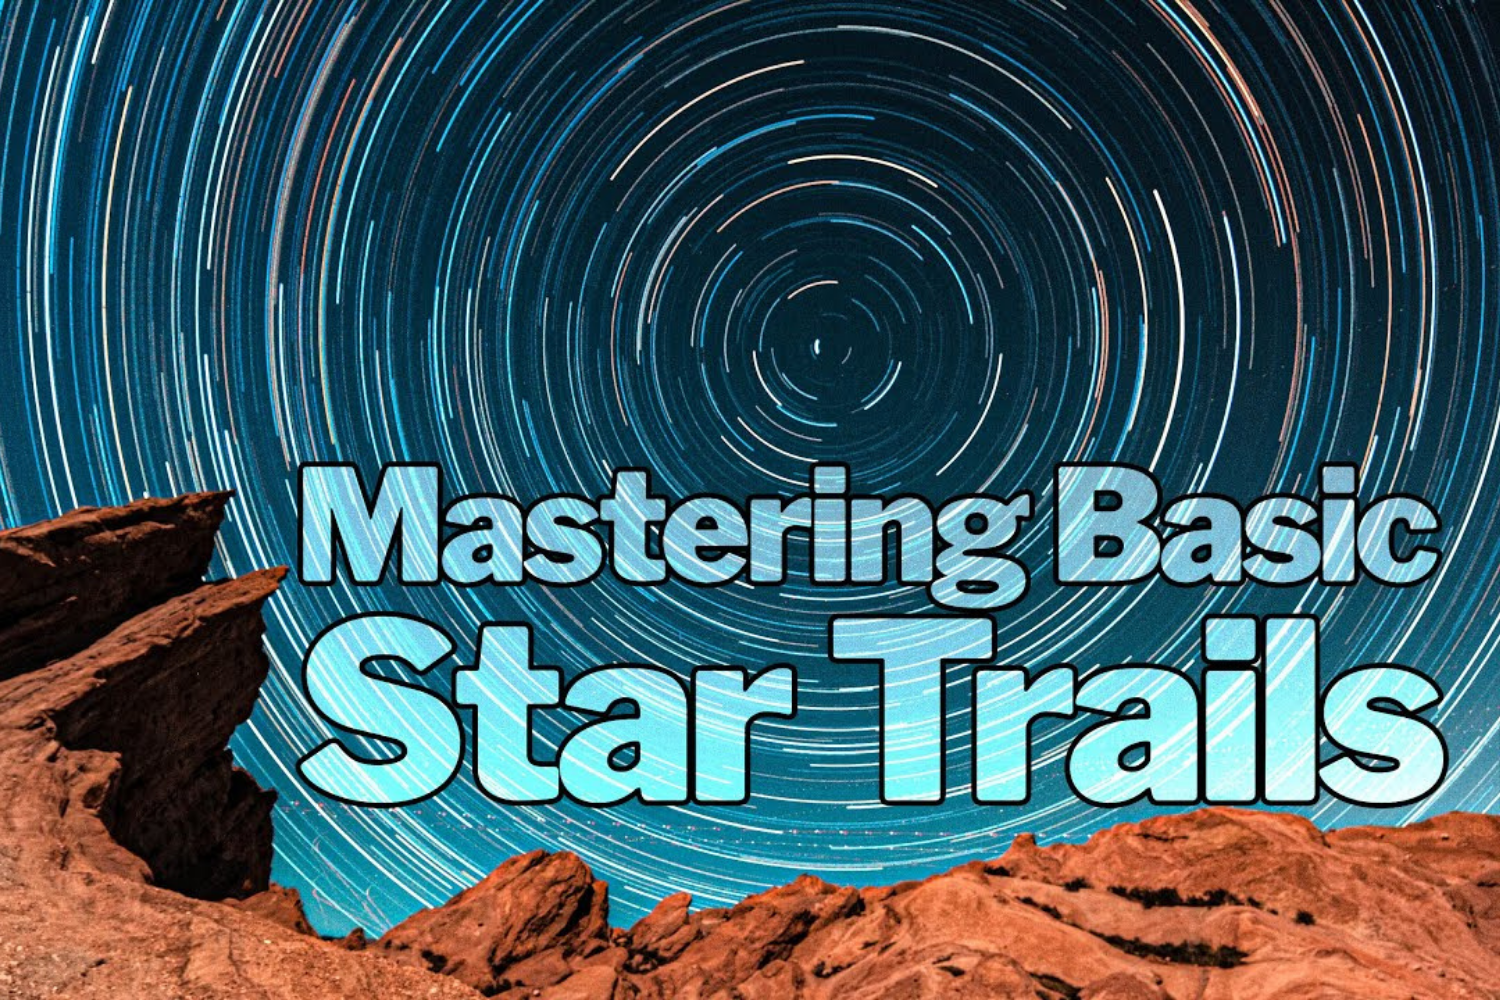
Milky Way & Star Trails
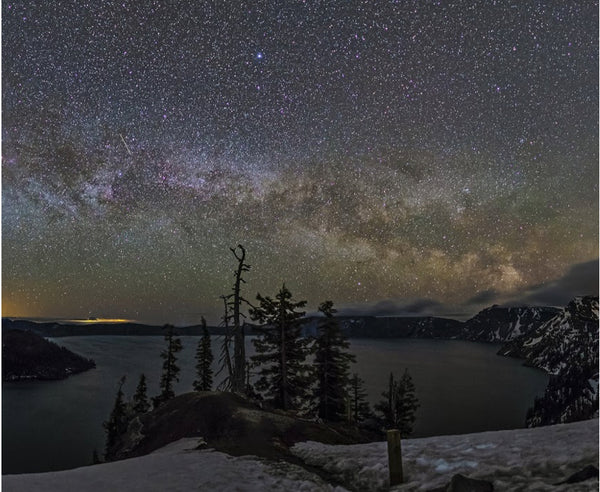
Photographing the Milky Way and the stars is the first stepping stone towards being able to capture stunning deep sky images. Learning how to use your camera and the correct settings is crucial to being able to eventually take more advanced photos of space. Many people might be surprised to learn that with some of the latest smartphones, you can get started taking your own images of the night sky with little to no other equipment. Smartphones, including the iPhone 11, Samsung S20 Ultra, Google Pixel 3, and newer versions all have an astrophotography mode built in. This mode lets you take long exposures of the night sky without a larger camera.
If you do happen to already own a DSLR or Mirrorless camera or are willing to buy one, you can take even better photos of the Milky Way galaxy or star trails. All you need is a sturdy tripod and relatively dark skies, away from city light pollution. By taking long exposures, you can start your journey into astrophotography. Maybe you've already dabbled in night sky photography with your camera on a tripod. In that case, you can purchase a star tracker which will take your astrophotography to a brand new level. Star trackers allow you to take much longer exposures than a tripod alone, as you can track the stars' apparent movement against the Earth's rotation. This opens up the possibilities even more for capturing stunning images of the Milky Way.

Level 1: Beginner Milky Way
- Smartphone
- Phone Mount Tripod

Level 2: Intermediate Milky Way
- DSLR/Mirrorless Camera
- Wide Angle Lens
- Photo Tripod
- Accessories:
- Intervalometer

Level 3: Advanced Milky Way
- Modified DSLR/Mirrorless Camera
- Wide Angle Lens
- Star Tracker & Tripod
- Accessories:
- Intervalometer
- Clip-In Light Pollution Filter
Widefield
Widefield astrophotography can include some Milky Way & Star Trails, but generally uses some more advanced techniques. With widefield imaging, you can start to dabble in longer focal length lenses and telescopes since you're using a star tracker regularly. This enables you to start photographing some wide views of large deep sky objects. Common targets include the Andromeda Galaxy, the Orion Nebula, Rho Ophiuchi, and other close-up views of the Milky Way and night sky. For these targets, a focal length anywhere between 50-500mm or so can be used, depending on the target. You can either use a telephoto lens such as a 135mm or 200mm, or even better options are widefield telescopes like the TPO UltraWide 180 (180mm), the William Optics RedCat 51 (250mm), or the Radian 61 (275mm).
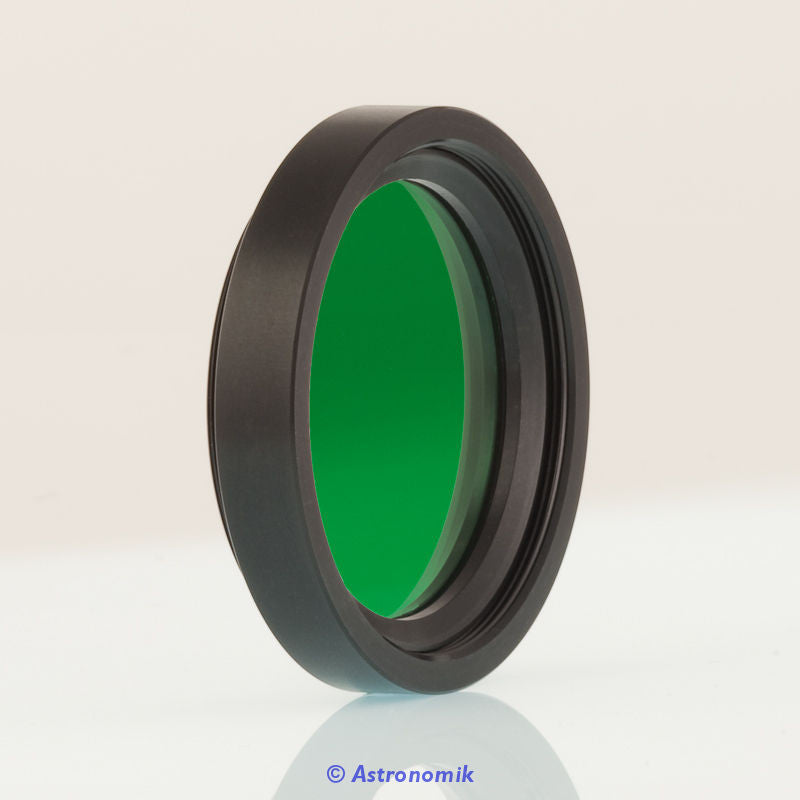
Once you've mastered polar alignment and tracking at long focal lengths with a star tracker, you can take the next steps to either upgrade to a dedicated astronomy camera, add autoguiding to your setup, utilize a light pollution filter to cut through city lights, upgrade to a GoTo Equatorial Mount, or all of the above. Any of these upgrades will drastically improve your images and give you an excellent widefield setup. With upgrades like these, you are well on your way towards entering the world of deep sky imaging.

Level 4: Beginner Widefield
- DSLR/Mirrorless Camera
- Telephoto Lens
- Star Tracker & Tripod
- Accessories:
- Intervalometer or Laptop Connection

Level 5: Intermediate Widefield
- Modified DSLR/Mirrorless or Dedicated Astronomy Camera
- Telephoto Lens or Widefield Telescope
- Star Tracker & Tripod
- Accessories:
- Guide Scope & Guide Camera
- Multi-Broadband Light Pollution Filter
- Camera T-Ring
- Intervalometer or Laptop Connection

Level 6: Advanced Widefield
- Color or Monochrome Dedicated Astronomy Camera
- Widefield Telescope
- German Equatorial Mount
- Accessories:
Deep Sky
Deep sky imaging is the practice of photographing distant galaxies, nebulae, and more. Although you can technically call Milky Way and Widefield imaging types of Deep Sky, Deep Sky imaging generally requires a telescope. It can help to have a telescope that features either a long focal length for more reach, a fast focal ratio for shorter exposure times, or better yet — both! It's difficult to consolidate the vast world of deep sky astrophotography into four levels, but we hope this gives you an idea of everything you might need.
For beginner astrophotography, we usually recommend starting off with a short focal length refractor, equatorial mount, and a DSLR if you already own one. This simple combo can produce stunning photographs of deep sky objects, and you'll only improve as you learn to master autoguiding and polar alignment. Eventually, you'll want to upgrade to a dedicated astronomy camera, whether that be with a one shot color (OSC) or with a monochrome camera and filters.
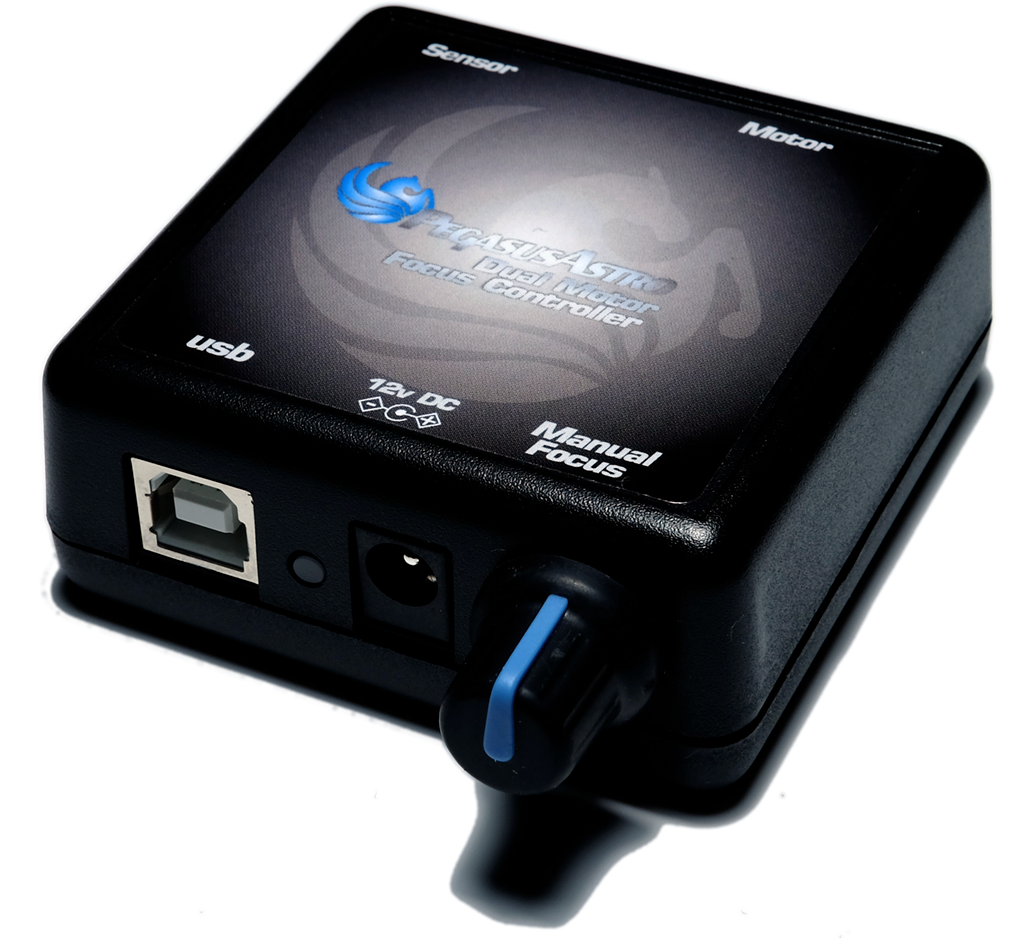
Once you've tackled imaging with a monochrome camera, consider upgrading your telescope to something with more focal length to capture distant targets. Another popular path of upgrades include automating as much as possible with your astrophotography rig, which includes adding an electronic focuser or a smart telescope control unit to control your equipment from the comfort of your home. Finally, look into telescope domes to complete your permanent home observatory and rival some professional rigs!

7. Beginner Deep Sky
- DSLR/Mirrorless Camera
- Small Refractor Telescope/Similar
- German Equatorial Mount
- Accessories:

Level 8: Intermediate Deep Sky
- Color Dedicated Astronomy Camera
- Medium Refractor Telescope/Similar
- German Equatorial Mount
- Accessories:

9. Advanced Deep Sky
- Monochrome Dedicated Astronomy Camera
- Large Aperture Corrected Telescope
- German Equatorial Mount
- Accessories:

10. Expert Deep Sky
- Private Observatory
- Large Sensor Monochrome Dedicated Astronomy Camera
- Large Aperture Corrected Telescope
- Premium Equatorial Mount
- Accessories:
Well, that wraps up our list! Of course, there are many more levels of astrophotography not listed, but we hope this gave you a solid overview of what gear you might need to capture that certain image you've been eyeing up. We're sure you probably have some questions about which gear is right for you. Our knowledgeable and friendly Sales staff are always here to help. Click here to get in touch!
Image Credits:
1. Courtesy of Google
2. Brian Fulda
3. Diana Herber
4. Bray Falls aka AstroFalls
5. Trevor Jones aka AstroBackyard
6. Drew Evans
7. Brian Fulda
8. Jeff Horne
9. Drew Evans
10. Bray Falls aka AstroFalls
Written and published by Brian Fulda


Dennis Stewart
February 01, 2022
I have been a professional photographer for over 25 years. i am now wanting to get into Astrophotography. i have always been interested in astronomy.
I have looked thru the setups on this page and want to purchase equipment to start my new challenge. I like levels 8 and 9. I do not plan to use my Canon cameras. Where would be the best place to purchase this equipment as well as the best price?
Hope to hear back from you soon.
Thanks, Dennis Stewart