


How to Photograph Nebulae (Tips for Beginners)
Getting started in astrophotography is easy for the curious and enthusiastic astronomers. With the right practice and tools, you can start to capture some of the deep space objects that inspire you and produce your own breathtaking images of the universe!
This essential astrophotography checklist for beginners will guide you through everything you need to photograph deep space objects like the Horsehead Nebula or Orion Nebula.
Read on to find out more about the tools you need to become an astrophotographer!
5 Things You Need to Photograph Nebulae
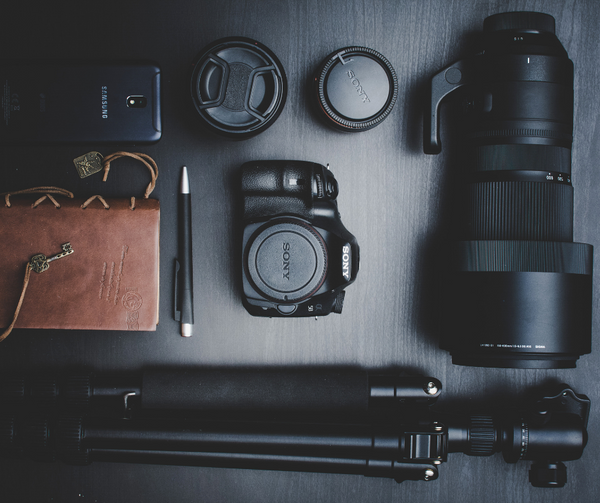
1. You Need a Camera.
A camera is the absolute minimum tool required to get into this hobby. A DSLR is a good starting point. You can use different lenses to get close to the object you want while having full control over the capture process. The newer the camera, the better, as modern CMOS camera sensors have more light sensitivity and lower noise than cameras released 5-10 years ago.
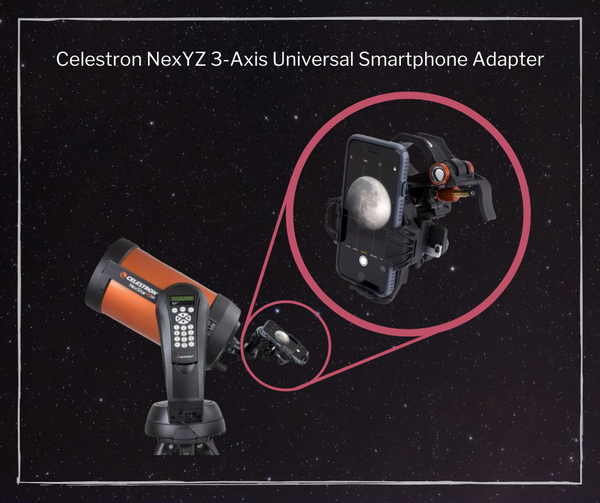
A quick and easy astrophotography tip is to use your smartphone as a basic camera! Phone cameras have come a long way in their capturing abilities. An easy way to get a picture of the Moon is by placing your phone’s camera on the eyepiece. Try it out!
An excellent accessory for using your smartphone is the Celestron NexYZ 3-Axis Universal Smartphone Adapter.Attach it to your telescope, as shown below!
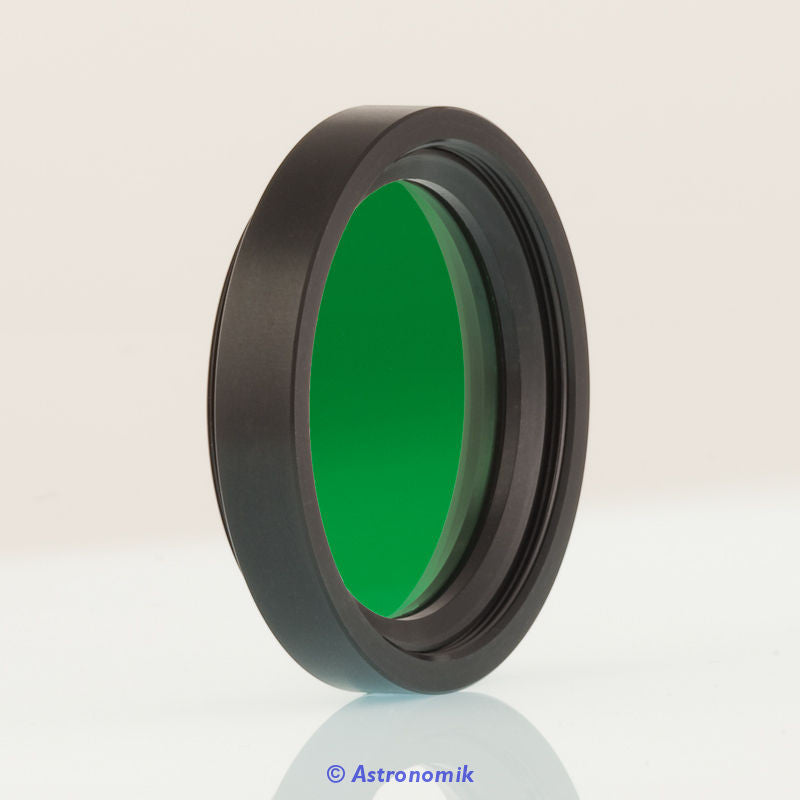
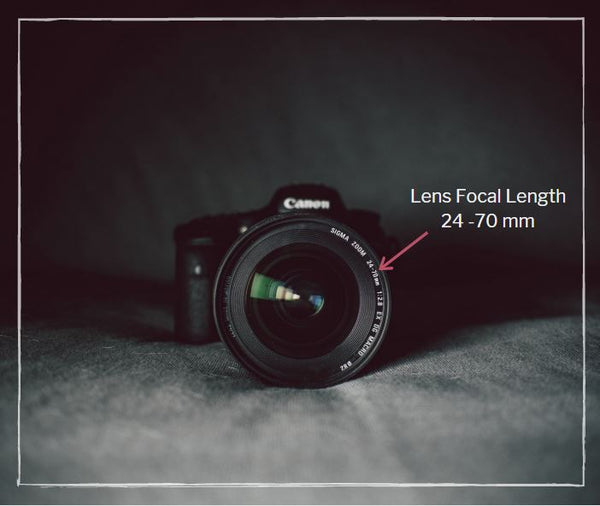
2. Attach a Lens.
The faster, the better. “Fast” is referring to a lens with a low focal ratio. The smaller that number is, the better it is at collecting light. Things in space are dim, so the more light the lens gathers, the clearer your images will be!
It’s important to note that a lot of magnification isn’t needed. A focal length of 135-350 mm is more than enough to see incredible nebulae and even a galaxy or two. A telescope serves the same purpose as a lens, so just like the lens, the faster the telescope’s focal ratio, the better.
The aperture of a lens is important too because the larger the aperture, the more light it can collect in less time.
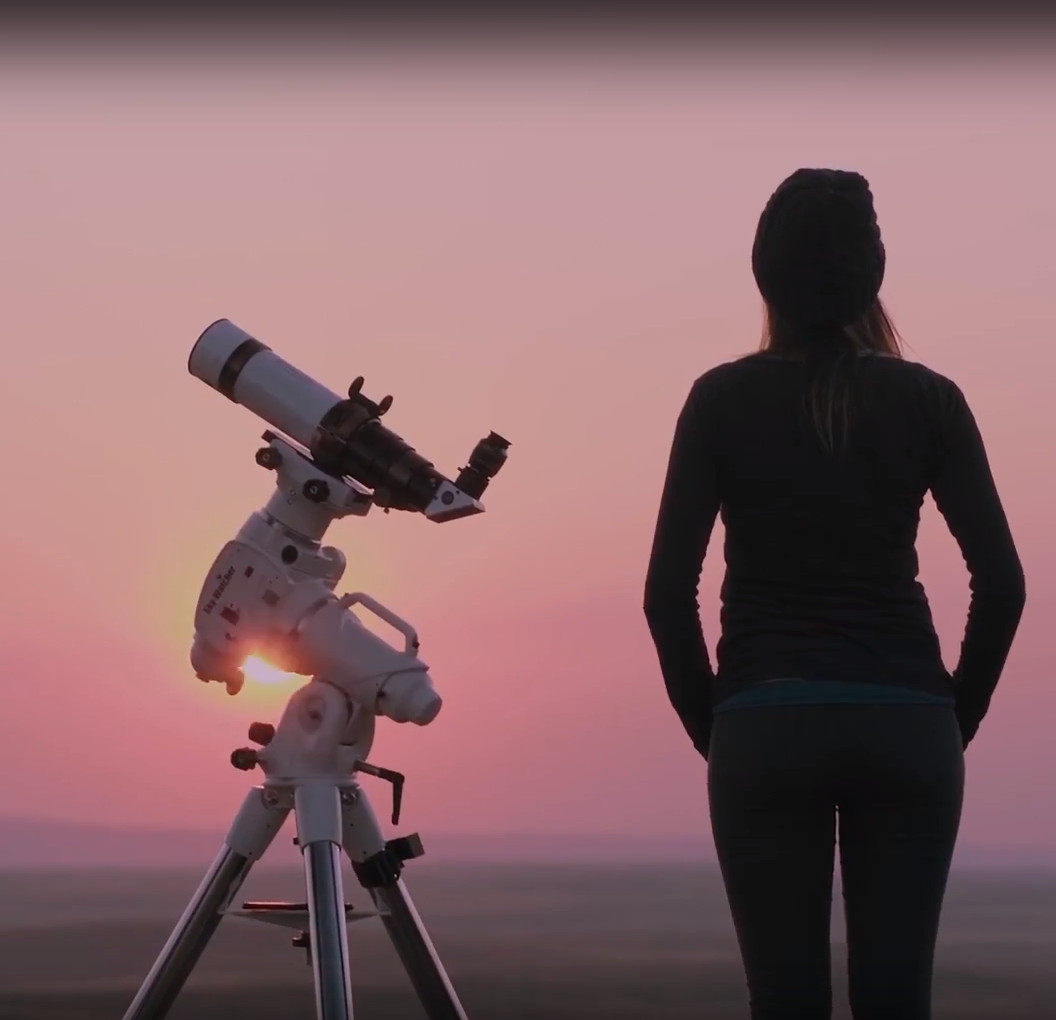
3. Use a Tripod.
The tripod is an important foundation for any low-light photography, especially for astrophotography, since the goal is to image from the darkest skies available to you. Any small shake or accidental movement can ruin your image. A tripod will keep your camera steady for those long exposure images.
4. You Might Need a Tracker.
If you are using a long focal length, you might notice everything looks smeared when you take the pictures. That’s the Earth’s movement moving your camera away from what you’re trying to see.
A tracker spins the camera in the opposite direction to counteract with Earth’s motion. The ability to take long exposures is important because it allows you to capture those faint details and structures in nebulae and galaxies.
If you’re not using a tracker, you’ll have to take shorter exposures. For the intermediate photographers, the movement of Earth and the object you want to capture limits what you can do within the500 Rule.
If you’re curious, the 500 Rule is how much time you have to image before the stars start to streak and blur. To figure out your camera's maximum exposure time, divide the number 500 by your lens’ focal length.
For example, let’s say your lens’ focal length is 35 mm. 500 divided by 35 equals 14.29, which would mean your maximum time before getting blurry stars is 14.29 seconds.
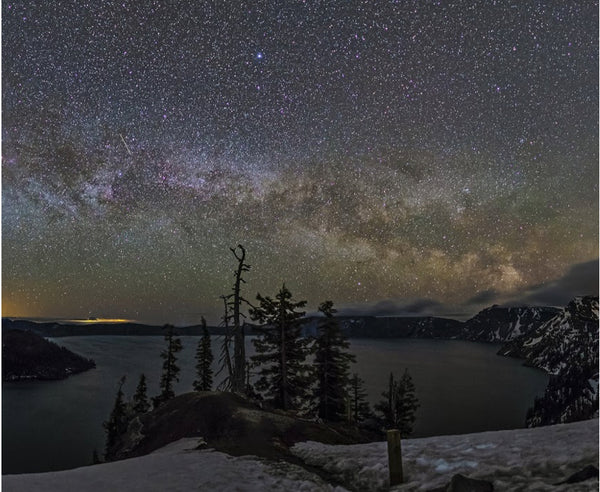
5. Travel to dark skies.
With the equipment described, dark skies are pretty much required, but you can practice at home without them. If you are near street lamps, you’ll find pointing your camera at the sky and leaving the shutter open for 5 seconds gives you a brighter sky and maybe a couple of stars if you’re lucky. With fancier gear, you can cut through the light pollution, but when keeping your equipment simple, there is no substitute for getting out to the middle of nowhere to get away from light-polluted skies. Don’t forget to do it when the Moon is in a slim phase, or the moonlight itself will mess up your shots!
If you have these five tools, you can take pictures of the Milky Way, galaxies, and nebulae. Yes, you can produce better images with better gear, but you could do quite a lot with a modest setup. You can learn to star hop to find the objects you are looking for, or you can see with your naked eye if your skies are dark enough.
A good starting point is the Orion Nebula because it’s theeasiest to find, and visible all winter from most latitudes.
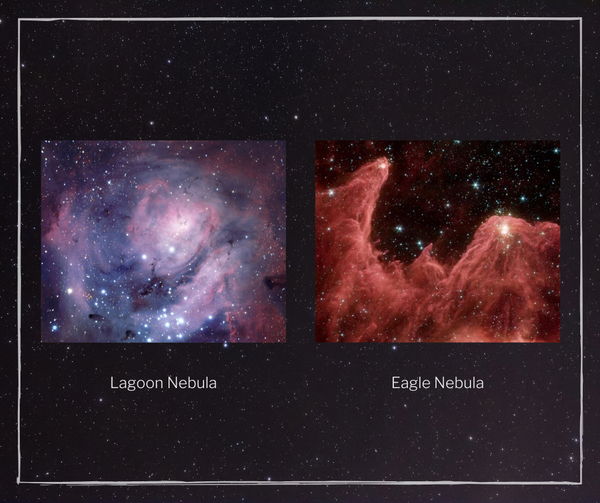
If you’re trying this in the summer, start with the Lagoon Nebula or Eagle Nebula. Both are bright and easy to find.
In the next post, learn how to capture celestial objects successfully.