


How to Take Astronomy Photos With Your DSLR (Tips for Beginners)
If you’re here from the last post, you know that there are a few basic things you’ll need if you’d like to take pictures of some of the treasures our night sky holds. Scroll through this guide to learn more about the steps you need to take to capture your first astronomy image!
How to Take an Astronomy Photo with Your DSLR in 5 Steps
- Choose your night. Choose your spot.
- Choose your object.
- Frame and focus.
- Acquisition.
- Calibration and processing,
1. Choosing Your Night and Spot
Aside from planning on where to set up, a few things have to go right. Most importantly, the weather conditions have to be right. Look for a night with no clouds, low humidity, and preferably when the Moon is in a slim phase, so it is producing less light pollution.
Is your backyard next to a busy street? Do you live close to a city center? These factors depending on your location, can create different levels of light pollution, measured as "Bortle zones."
The Bortle scale is a nine-level numeric scale that measures the brightness of the night sky of a particular location, 1 meaning the darkest skies on Earth to 9, meaning inner-city lights skies. You can use online maps like this one to figure out your Bortle zone.
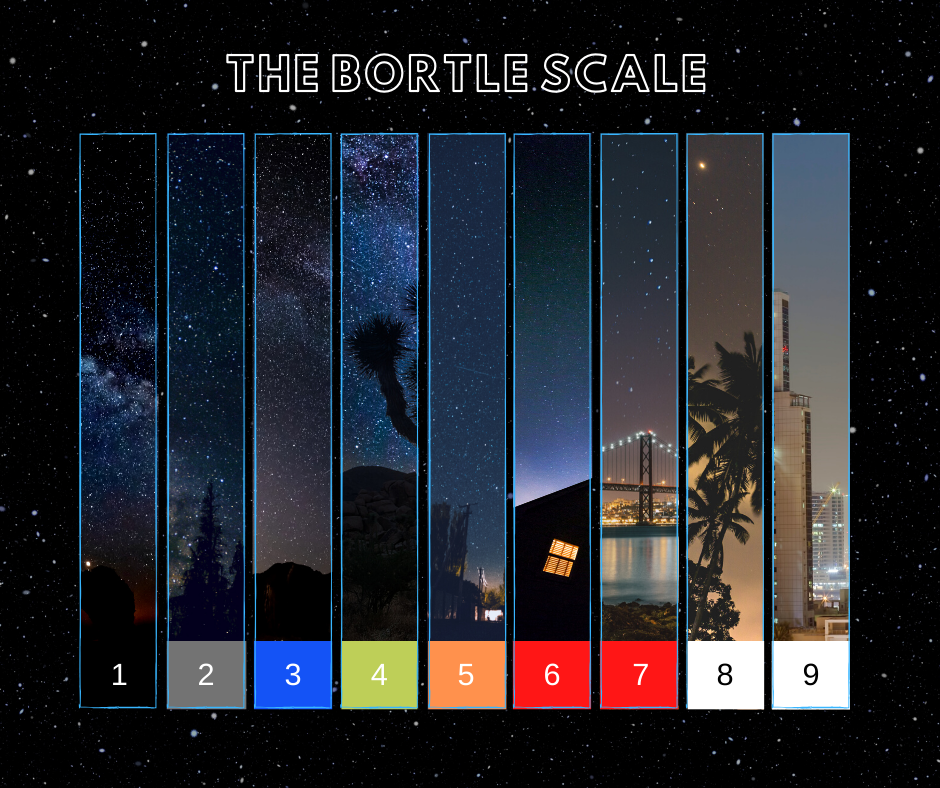
What do the different colors on the Bortle scale mean?
- Black: Excellent Dark Site.
- Gray: Typical Dark Site.
- Blue: Rural Sky.
- Green/Yellow: Rural/Suburban.
- Orange: Suburban.
- Red: Bright Suburban.
- Red: Suburban/Urban.
- White: City Sky.
- White: Inner-City.
Knowing your Bortle zone will help determine how easy it will be to capture faint objects in our skies. While bright skies don't make it impossible, it does mean it will take much more acquisition time to reveal your target, which can be daunting for a beginner.
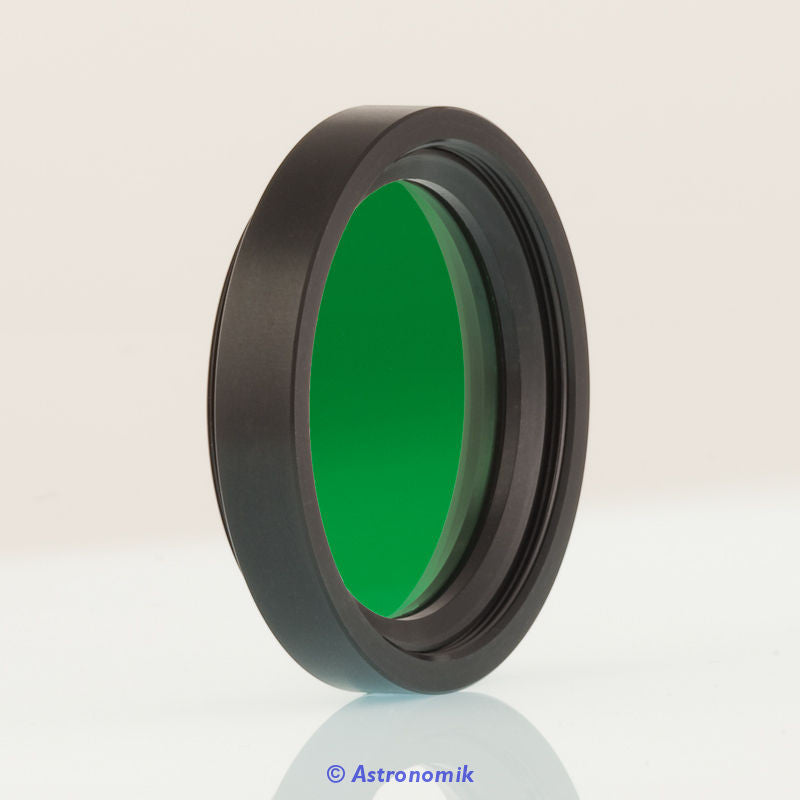
If you live within a reasonable distance to darker skies, I suggest going on a journey to find a better shooting location. If you can't travel to darker sky sites, using narrowband filters, like the Triad Filter can give you more detailed images.
2. Choosing Your Celestial Object
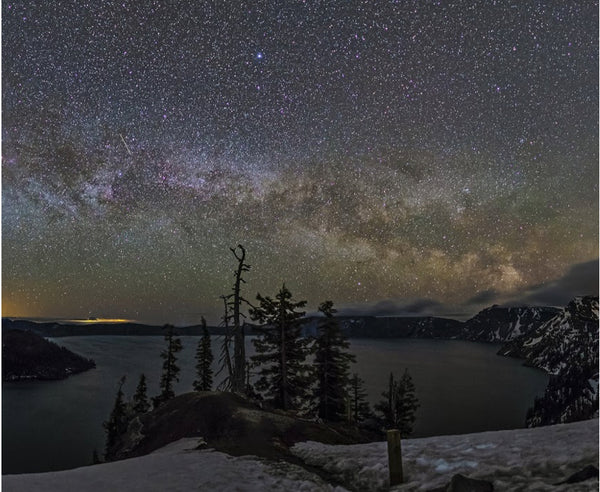
As a beginner, we recommend going with some of the brightest emission nebulae for your first time. The Orion nebula in the winter or the Lagoon Nebula in the summer are visible from all latitudes and bright. Easy first targets will give you a sense of the basics. Get familiar with how the apparent magnitude works and use apps like Sky Safari to plan easy targets.
Apparent magnitude is the level of brightness of a star or celestial object as observed from Earth. Three parts determine an object's apparent magnitude, its electromagnetic power, its distance from Earth, and how much light is absorbed and scattered by interstellar dust and gas.

Choose objects near bright stars in known constellations to make finding them easier in the next step.
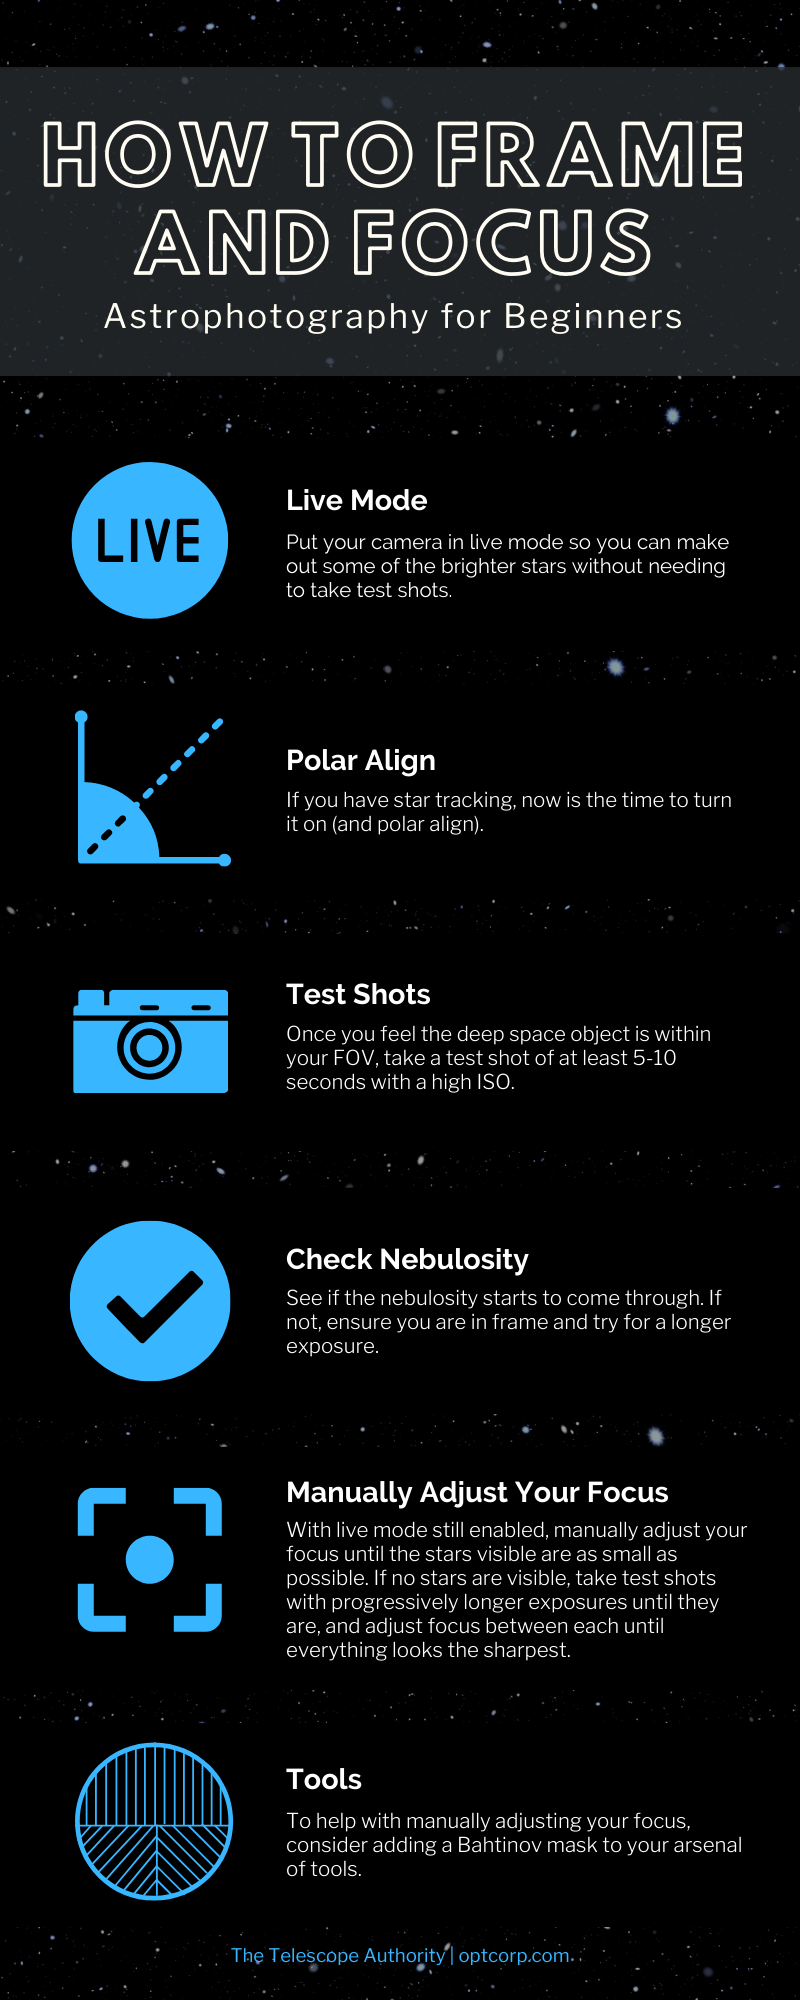
3. How to Frame and Focus
Hopefully, you choose an item near a bright star.
- Put your camera in live mode so you can make out some of the brighter stars without needing to take test shots.
- If you have a camera tracker, now is the time to turn it on (and polar align).
- Once you feel the deep space object is within your FOV, take a test shot of at least 5-10 seconds with a high ISO.
- See if the nebulosity starts to come through. If not, ensure you are in frame and try for a longer exposure.
- Short focal length lenses are good for Milky Way photos, long focal length lenses are good for deep-sky objects.
- With live mode still enabled, manually adjust your focus until the stars visible are as small as possible. If no stars are visible, take test shots with progressively longer exposures until they are, and adjust focus between each until everything looks the sharpest.
- To help with this, consider adding a Bahtinov mask to your arsenal of tools.
4. Successfully Capturing Your Targeted Celestial Object
Without a Camera Tracker (Milky Way photos)
With the target in frame and in focus, it's time to "collect data" as us astrophotographers call it. Take as many shots as possible. If you are shooting without tracking, you are subject to the "500 rule," which limits your exposure length based on magnification to prevent star trailing.
The 500 rule is how much time you have to image before the stars start to streak and blur. To figure out your camera's maximum exposure time, divide the number 500 by your lens' focal length.
For example, let's say your lens' focal length is 35 mm. 500 divided by 35 equals 14.29, which would mean your maximum time before getting blurry stars is 14.29 seconds.
With a Camera Tracker
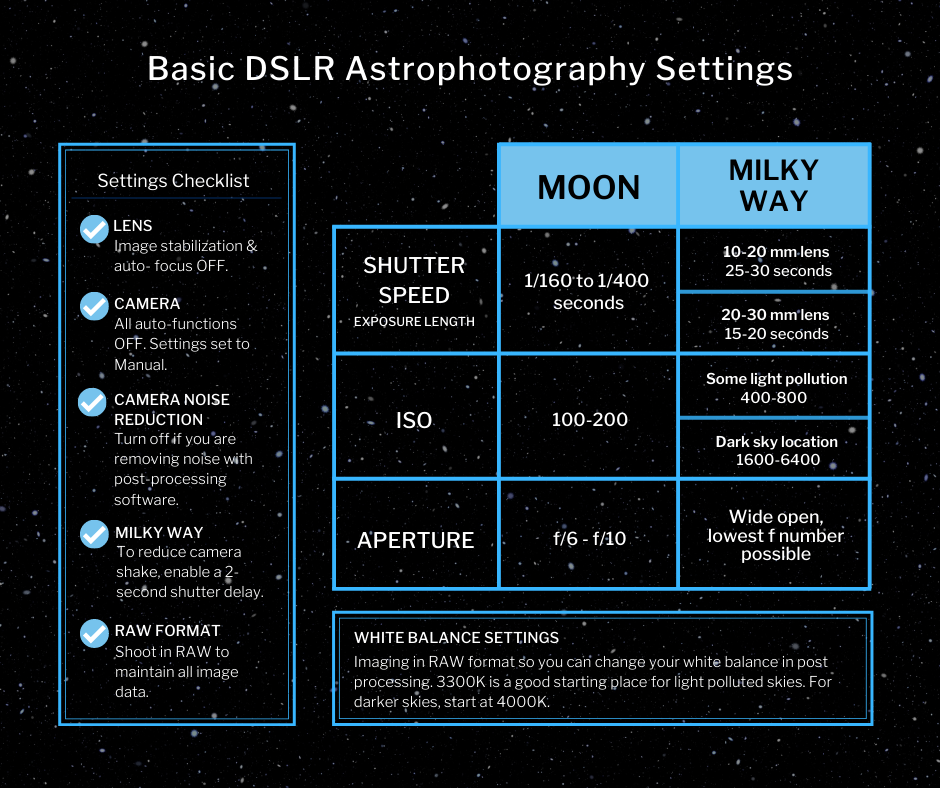
If you are using tracking, you can push your exposures much longer. Most beginner DSLR shooters start with 30" exposures if shooting from light polluted skies and 60" if shooting from dark skies. Set your ISO to a high number if you are untracked, and a lower number if you are tracking. If shooting with a Sony a7ii, try to stick to ISO 800 when shooting nebulae.
A good goal for a first time shooting is perhaps 100 exposures, or roughly an hour of acquisition time. The more you get, the better potential your final image will have. Don't forget to shoot in RAW, or this will all be for nothing.
5. Calibration and Processing Your Images
Before you pack up your gear and head in, it is important to capture "calibration frames." These shots serve to correct some of the issues that occur due to equipment limitations in the acquisition process.
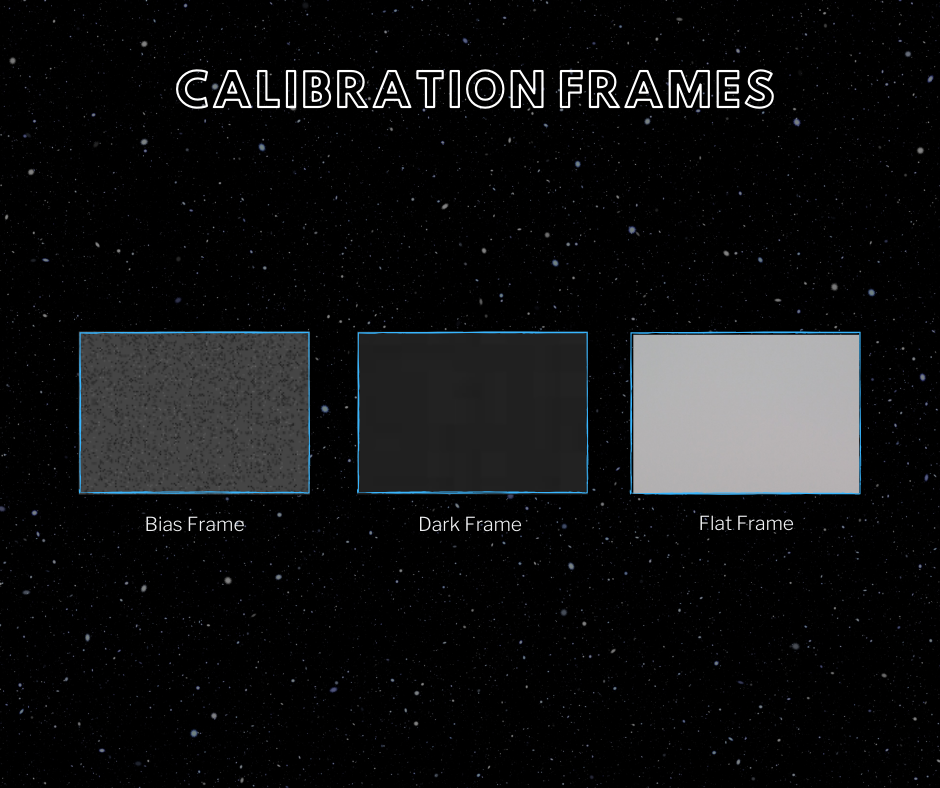
Capturing Darks, Flats, and Bias Frames
Even if you don't know what they do yet, that's okay. When you start processing your images, you'll be glad you have them. Try to capture 25 of each.
What are the different types of calibration frames used in astrophotography?
DARKS
When taking a long exposure, the chip will introduce “thermal” noise. Its level is magnified by three things – temperature, exposure time, and ISO. Dark frames are used to subtract this sensor noise from your image, and mitigate “hot or cold” pixels.
FLATS
Things like dust motes, lens vignetting consistently reduce the light to a given pixel, flat frames allow you to remove them to give a smooth evenly illuminated image.
BIAS
Your camera inherently has a base level of read out noise as it reads the values of each pixel of the sensor, called bias. When averaged out, basically it’s an inherent gradient to the sensor. BIAS frames are meant to capture this so it can be removed.
How to create calibration frames for astrophotography?
DARKS
Put your lens cap on, and capture images with the same exposure length and settings as your acquisition frames.
FLATS
Point your camera at a white, evenly illuminated surface, and make sure it fills the FOV. A laptop or iPad screen displaying all-white works beautifully. Use Av mode and your same ISO to capture these.
BIAS
Crank your shutter speed down to the lowest it’ll go, to about 1/8000 of a second. Lens cap on.
Now you’re ready to turn this data into a beautiful image of deep space! Check out this blog if you're interested in a deep dive of DSLR astrophotography. Clear skies!