


Telescope Power for Astrophotography - at Home & On the Go
By Antoine Grelin, OPT Affiliate
Learning astrophotography is often done using a DSLR camera, a lens and a tripod. This is really all you need to start imaging the night sky! It is often when beginner astrophotographers transition to deep space imaging with a telescope that they start wondering: How do I power my astrophotography setup?
In this post, we’re going to go over which devices require power, ways to power your equipment from home, and what batteries to use when doing astrophotography out in the field!
Before we dive in, let’s take a look at what matters when requiring telescope power for astrophotography.
Do All Telescopes Need Power?
If you’re a visual observer, you likely won’t need power to use your telescope unless you have a Go-To mount. However, if you’re doing astrophotography you’ll need to have a steady source of power to keep you going while you're out on the field.
What you should know is that the telescope itself doesn’t need power to work, after all, a telescope is just a tube with either mirrors or optical lenses! There are a few exceptions though, like the Orion 8”Astrograph reflector telescope that comes with a fan to cool down the mirrors before imaging. These usually come with their own battery and only need to be turned on for 30 to 60 minutes before your session.
So What Do I Have to Power?
Mounts
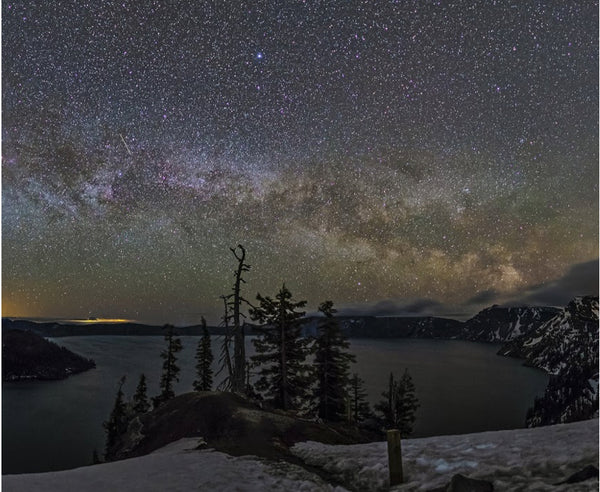
The motorized mount is the most important piece in any astrophotography setup. Mounts are used to support your entire payload, and track the sky allowing you to take long exposure shots. Motorized mounts need a steady flow of electricity to work and properly track the sky. Without power, you will have to continuously adjust your telescope to keep your target in frame, and will not be able to take long exposures without star trails. This isn’t too much of a big deal when imaging planets or the moon, but it is very difficult to get a clean image of a deep sky object without a powered mount, especially if using a telescope with a long focal length!
 The image above shows the movement of the stars over a period of 3 hours!
Cameras
Another piece of equipment that requires power is your camera. Some cameras use batteries to function while others need a constant source of power to draw from. The two main types of cameras used by amateur astrophotographers are DSLR/Mirrorless cameras and astronomy-dedicated cameras.
DSLR Cameras
DSLR cameras use their own included batteries to stay on throughout the night, meaning you do not need to plug in an external battery to it! Unfortunately, camera batteries only offer a finite amount of power which is not ideal for long nights.
You have two options to power your DSLR camera:
- Purchase extra batteries - You can simply switch the batteries when they die, although it may move your telescope a little. You should also probably try not to fall asleep if you’re planning on imaging all night so that you can switch out the batteries when needed.
- Buy a battery adapter with a cable that connects your camera to a power source directly - This cable will need to be plugged in to a wall outlet or an external battery at all time, but the camera will stay on all night! The problem is that you will have one extra cable to deal with.
Dedicated Astro Camera
A dedicated astro camera will not work without power. The main feature of these cameras is their ability to cool down with thermoelectric cooling (using a Peltier cooler), and that requires power! There is also a fan in the camera that expels heat away from the sensor, and this won’t turn on without power either. If you have this type of camera as part of your setup, you’ll need to factor that into your overall power source.
Accessories
Aside from your mount and camera, you may incorporate accessory devices to help you image. These accessories often require power to work and although they are not necessary, they can make your evening easier!
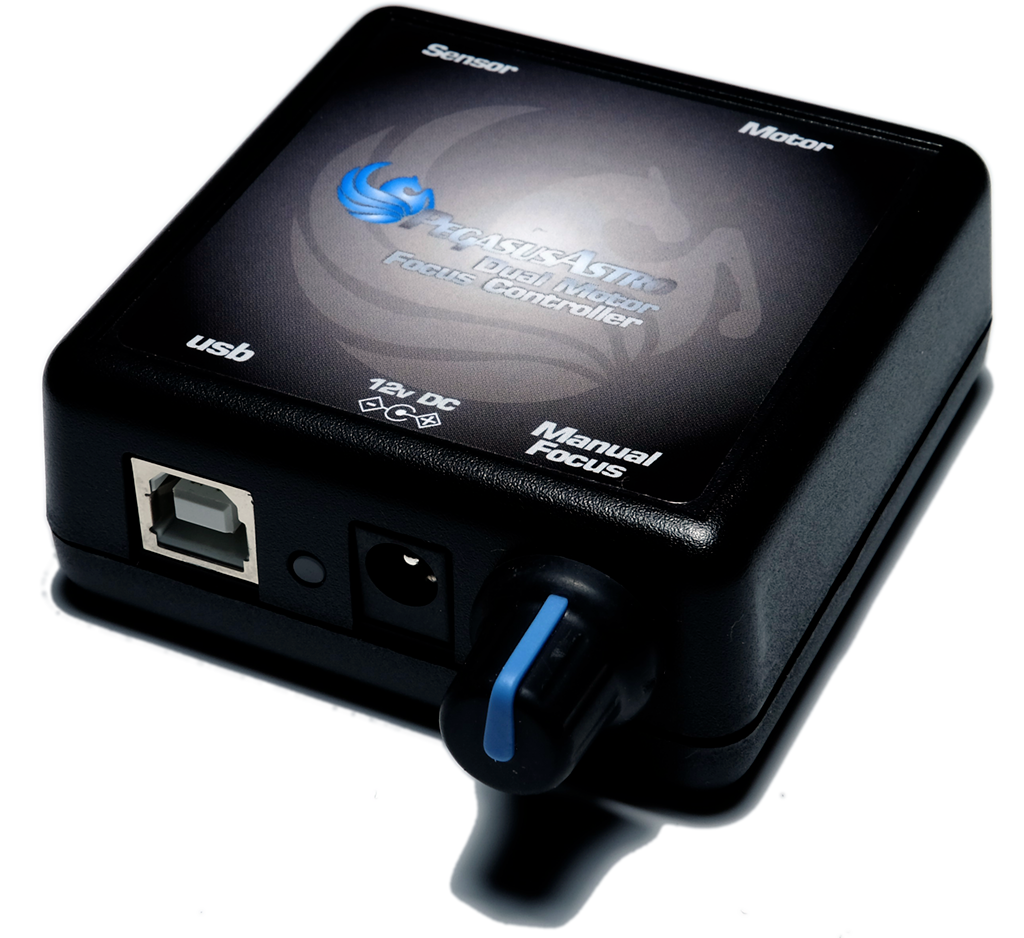
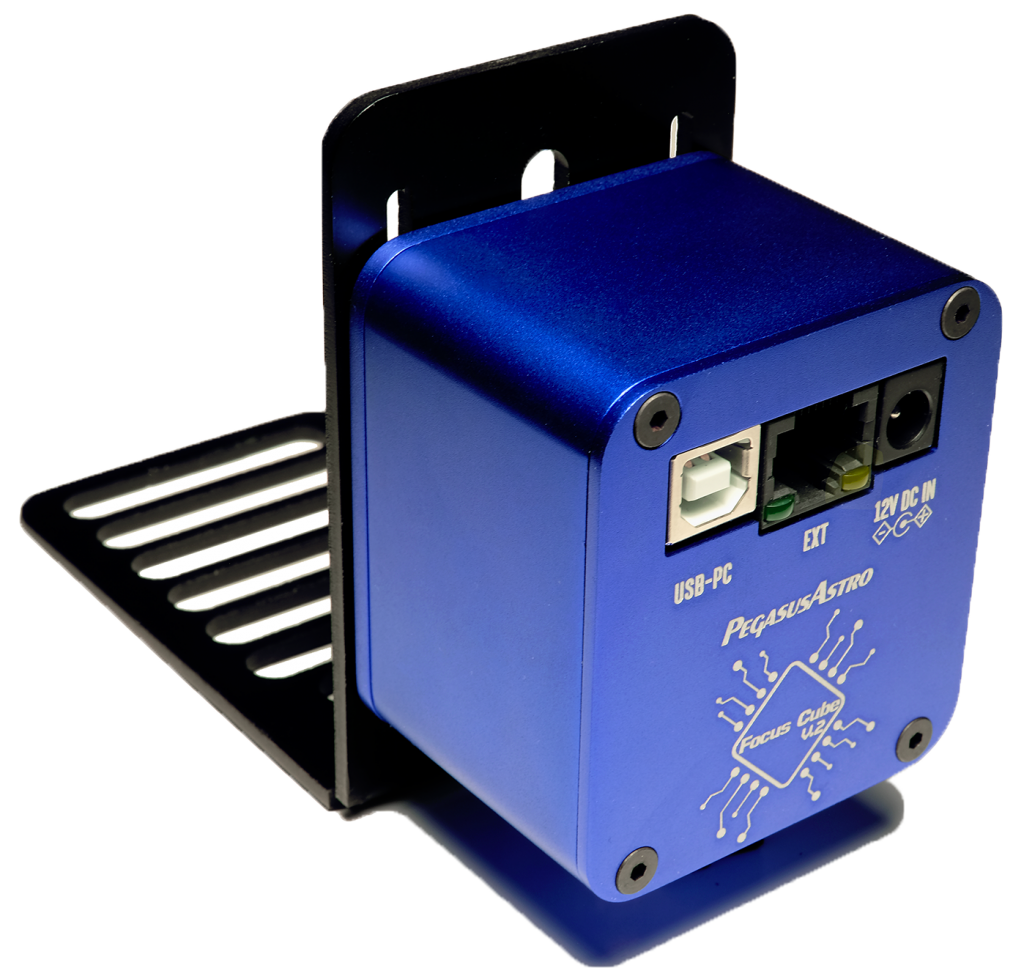
Auto-Focuser
If you’re using an auto-focuser with your setup, like the Radian focuser or Moonlite focuser, you will have to plug it in to turn it on. An auto-focuser helps you stay focused all evening with crisp, clean, and circular stars. If you have or plan to use an auto-focuser in the future, know that the mechanism needs to be powered to push the telescope focuser in and out.
Powerboxes
A Powerbox, like the excellent Pegasus Astro Powerbox, is a device that has one input port (power coming from your battery or your wall outlet) and plenty of output ports for all your devices! It even includes USB, Dew Heater, and DSLR camera ports. It does not require to draw any power to function, but does need to be plugged in to a power source. These powerboxes are great for not only dividing power to all the devices you need, but also for cable management! Using a powerbox attached to your telescope, the only cable that needs to go up from the ground is the power input cable! This helps ensure that no cable snag occurs when slewing your telescope.

The Pegasus Astro Powerbox, showing 4 12V outputs.
Acquisition Device
An acquisition device can be a laptop, a mini PC, or a smart device that acts as a camera controller and makes astrophotography easier to manage, like the ASIAir Pro or the StellarMate. Some of these can also disburse power to different devices in your rig setup, but need electricity to function. This handy gadget is an optional accessory, but makes astrophotography easier to manage.
Why Should I Understand My Setup First?
Whether you go out on the field or stay at home, you should be aware of the devices that require power to work. If you aren’t knowledgeable about what needs power, you could run into a slew of issues that turn your evening sour. That’s why it is best to consider what you’re using first, then take into account what needs electricity, and calculate how much power you’ll need for a full evening of imaging.
This is mostly important for astrophotographers, especially those who image away from home because they need a steady source of power. That leads us into the two types of locations for imaging: at home and on-the-go.
Each has its advantages, as well as challenges. See the differences below.
Home
Imaging from the comfort of your home can’t get better than setting up, plugging in, and walking away. While at home, your entire gear can be plugged in to a nearby AC outlet. Your biggest advantage here is unlimited power! If your telescope, camera, and mount require substantial power, you won’t ever have to worry about running out of electricity throughout the night. If you’re lucky, comfort and a stable power source are always within reach.
It’s not always easy to power your devices from home though. Sometimes, products do not come with the right adapters and you might need to buy some that can be connected to an AC outlet... and they can be expensive.
A safe way to run your cables when imaging from home is to run an extension cord from your nearby AC outlet all the way to your tripod, and plug every power cord cleanly from your rig into a power strip.
On the Go
Most astrophotographers don’t have the ability to image from home. The next best thing is to pack up all your gear, get a powerful battery, and head out to a dark site. While on the go, your biggest advantage is portability to virtually any location!
There are several types of batteries that can be used to power your telescope. Some options are much better than others, but also much more expensive.
Deep Cycle Batteries
Deep Cycle Batteries (also known as Marine batteries because they are often used to power boats) are very reliable, and will last for many, many years if well-taken care of. The two main issues with these batteries are the fact that they are not user-friendly at all (they do not have any power ports, buttons, or displays) and are extremely heavy! The price of a deep cycle battery is usually fair, between $65 and $250 depending on the Amp/hour value. A 100ah deep cycle battery is recommended for setups that have a motorized mount, a cooled camera, a focuser, and an acquisition device. For astrophotographers using a DSLR camera and no other device than a motorized mount, a 35ah battery should be more than enough for a full night.
Because deep cycle batteries do not have any ports, a cigarette lighter adapter is needed to connect a mount and other equipment to it. In the case of some mounts that only come with an AC power brick like the Paramount Myt mount, an inverter with AC ports needs to be connected to the deep cycle battery, as seen in the image below.

Astronomy-dedicated power supplies
Manufactured by some of your favorite astro companies, like Orion and Celestron, these power supplies are built with astrophotography in mind! Lighter than deep cycle batteries, but also usually less powerful, these portable power supplies are also equipped with a cigarette lighter port, USB ports, and sometimes even a flashlight, helpful when packing up in the middle of the night!These devices are great for beginner astrophotographers with a rig that is not too power-hungry. They are much easier to use than deep cycle batteries, but might need to be changed every few years.
Lithium Batteries
If you’ve been spending the last few years carrying a heavy deep cycle battery around, and are looking to upgrade to the lightest possible option, look for lithium batteries! Often used by campers and people driving around the country in their van, Lithium batteries are getting more and more popular in the astrophotography world!

These are extremely light (22 lbs for a 100 ah Lithium battery vs 65 lbs for a 100ah deep cycle battery), they are also very easy to use, have a display, lots of ports (USB, cigarette lighter, AC) and most of them can be recharged during the day using solar panels! On the downside, they’re pretty expensive, and it is not really possible to know when they are nearing the end of their life.
What Battery Should You Start With?
If you are a beginner astrophotographers trying to decide which battery to purchase, we recommend getting one of the astro-dedicated batteries, like the Orion Dynamo Pro 155 or one of the Celestron Powertank batteries, depending on your needs. Starting with a deep cycle battery can be frustrating, as you will need clamps and extra adapters, while breaking your back in the process. Starting with a Lithium battery is a great option as well, but maybe a little expensive when starting out.
If you plan on imaging from your backyard only, then you do not need any external battery! Just ensure to either have the proper AC adapters for each piece of equipment, or use a device like the ASIAir Pro or the Pegasus Astro Powerbox to divide power to all your gear!
Now that you know how to power your telescope setup at home and on the go, it’s time to get imaging!